Don't forget to follow us on Facebook or 500px.

Monday, November 30, 2015
Handy tricks for selecting hair from the background using channels
One of the toughest selections in Photoshop is to cut out curly hair from the background. But their is a cool way to do this that gives great effects: using the channels in Photoshop. It works pretty fast and easy.
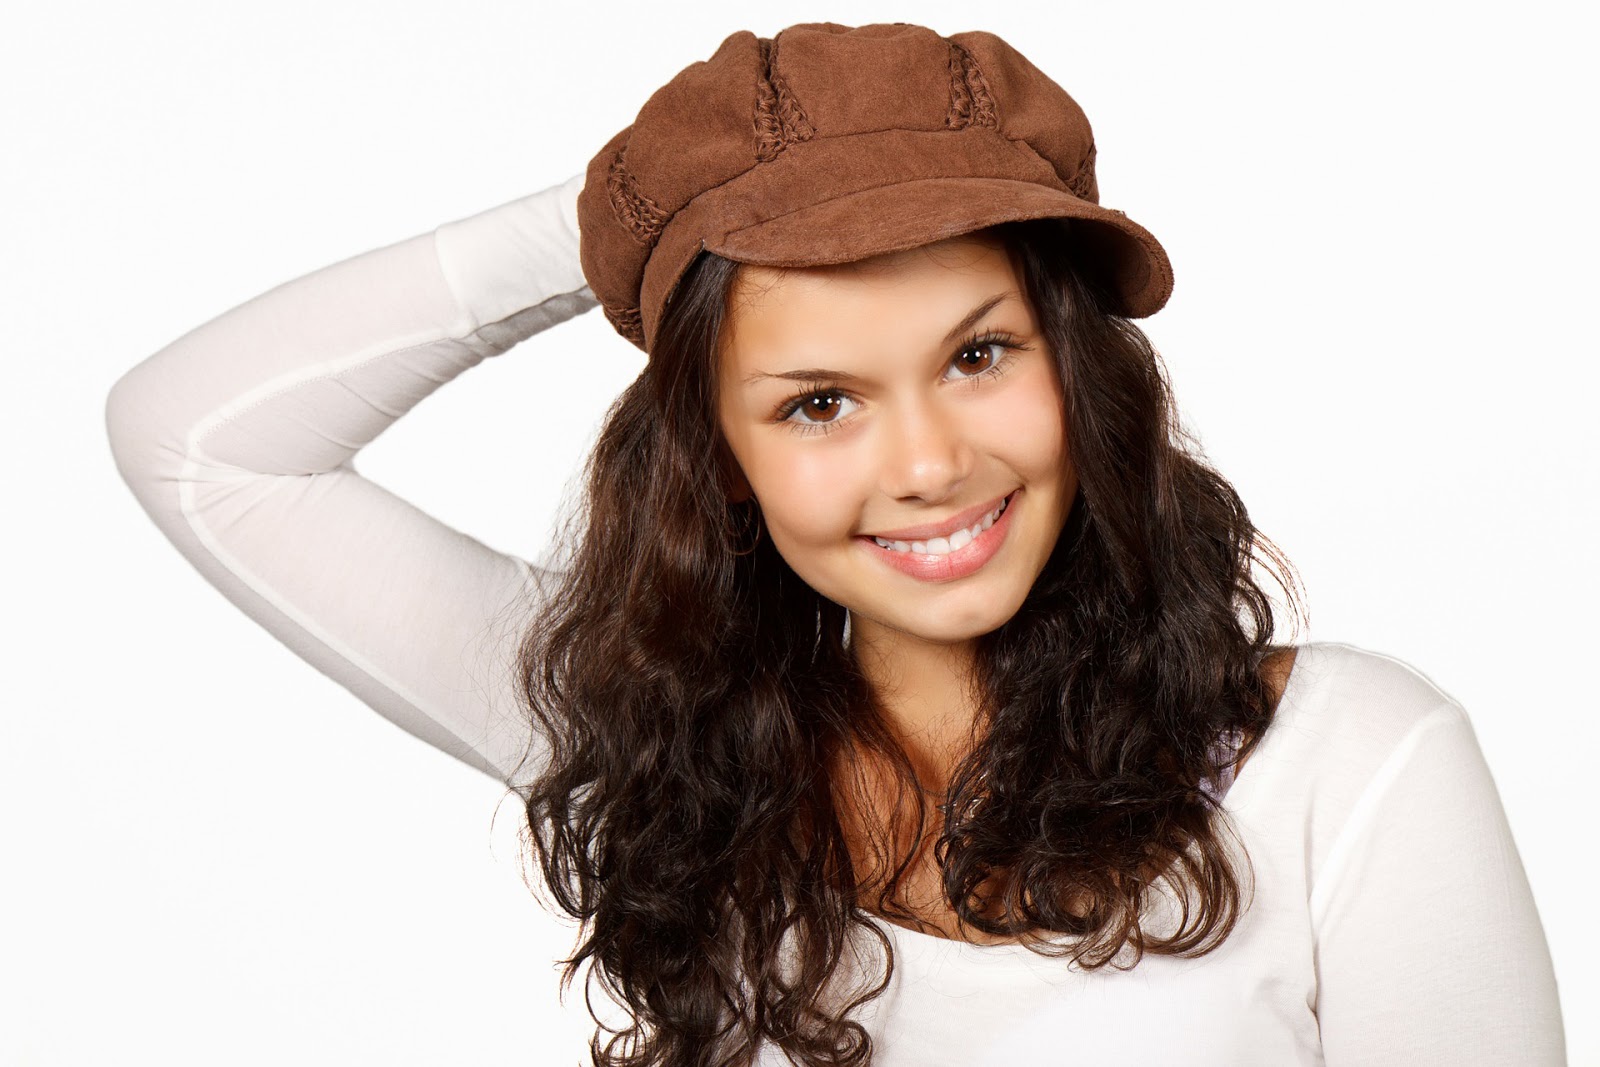
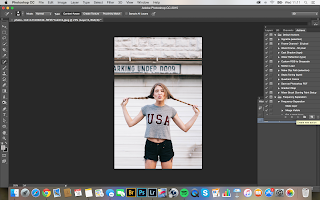
1. Open your image


In this case you can see that the blue channel gives much darker hair than the red channel.


6. You now have a new layer with the light part selected


1. Open your image
2. Open the channels in Photoshop (Windows > Channels). The technique is based on the differences between dark and light.


In this case you can see that the blue channel gives much darker hair than the red channel.
3. Make a copy of the blue channel

4. Clicking on the Copy of the blue channel holding Ctrl or Cmd. You now see that the light part of the picture is selected

5. Go the layer panel and click on the Masking icon
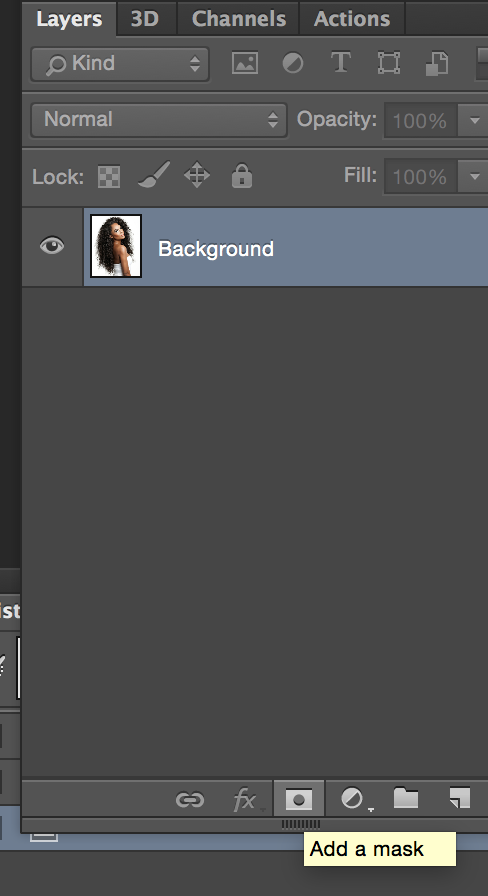
6. You now have a new layer with the light part selected

But it's the dark parts of the image (the curly hair) we need
7. Invert the mask using Ctrl or Cmd I

8. Using the brush tool you can paint the parts of the picture that you want darkened (in this case her dress etc...)

When you put another coloured layer underneath it, you see that the hair is perfectly cut out from the background.

The only problem is the white areas at the end of her hair. You can darken those using a clipping mask in combination with the clone stamp tool or the brush:
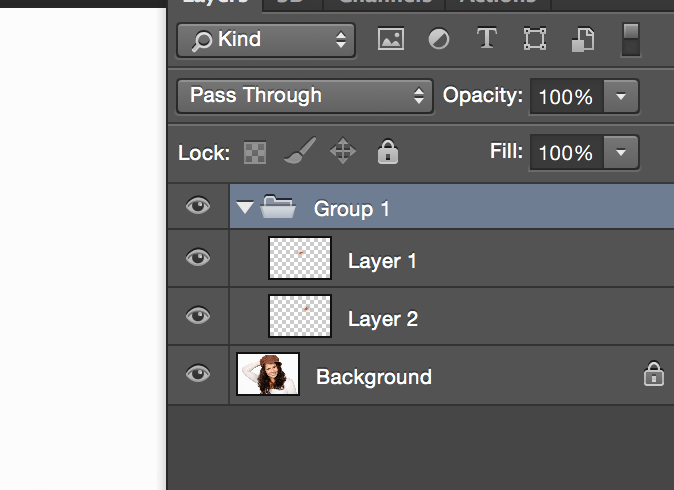
1. Add a new layer on top

2. Make a a clipping layer from this background, so that it's attached to the selection.

Now the layer is clipped:

3. Set the blending mode of the layer to darken. Use the Clone stamp to darken the light from the inside to the outside. Be sure the sample is on this layer and below and the flow is around 30%
Voila, this is the end result:

By changing the color of layer 1, you can easily change the colors of the background


Thursday, November 26, 2015
Great tip for portrait and glamour shots: how to create bigger eyes in Photoshop
For portrait and glamour shots it can work really well to give more attention to the eyes. Let me tell you it's very easy to do just that in Photoshop: making the eyes pop in your image.

- Select the image, in this case I used an image from Pixabay
- Pick the Lasso tool (L) and draw a line around the left eye
- Hit Ctrl or CMD J to put it on its own separate layer
- Select the background and draw a line around the right eye
- Hit Ctrl or CMD J to put it on its own (second) separate layer. Now you've got both eyes on their own layer.

- Select the left eye and hit Ctrl or Cmd T for the free transform tool. Make the eye a little bit bigger (holding Shift and Option)
- Select the right eye and repeat step 6

And voila! That's it, there's our model with slightly bigger eyes. It's a subtle change as I'm a fan of keeping it natural.
Tuesday, November 24, 2015
A quickie! How to whiten teeth in Photoshop
Let me give you a really easy and super fast way to whiten teeth in Photoshop.
Don't forget to follow us on Facebook or 500px.
- Open the image (picture from Pixabay)

- Drag a line around the teeth with the Lasso tool

- Hit Cmd or CTRL U
- Choose the yellow Channel

- Decrease the saturation and increase the Lightness


Voila! Here's a creature with teeth that are very much whiter than in the image we started with. It's fast and easy. There are ofcourse loads more ways to do the job, but you have to keep in mind to keep it natural. Well, having said that: that's the way I like it.
Here's a really cool Plearn video with another - more advanced - technique.
Here's a really cool Plearn video with another - more advanced - technique.
Don't forget to follow us on Facebook or 500px.
Sunday, November 22, 2015
Blending modes in Photoshop
Today I'm going to talk about blending. Blending modes in Photoshop. When you're working with layers, you often need to change your blending mode to get the effect you're after.
But let's start at the beginning. What is a blending mode?
Layer blend modes offer different ways for a layer to interact/blend with the layer below it. Blending layers give you a lot of creative possibilities, especially when combined with layer masks.
Here's an example:
I took a picture where I want to sharpen it with a high pass filter. First step is to open the picture and to duplicate the background. After adding the filter, this is what you'll get:

Now this is not the effect I was after. And you know why? Because the blending mode is 'normal'. By changing this to Overlay I get the effect I was after. In this case a sharper image.

Because I'm working on a separate layer, I can decrease the effect by reducing the Opacity of the layer. If I don't want the effect everywhere, it's easiest to use a mask to hide some part of it.

But how do you know what blending mode to use? Excellent question, because there's just sooo much to choose from in Photoshop:

As you can see, the blending modes are all grouped. Each group has its own function.

So that actually makes life a lot easier. Let me show you with an image I'd like to darken:
Step 1: Duplicate the background
Step 2: Switch the blending mode to a blending mode that darkens your image. In this case I went with Multiply.

You can see this gives a much darker image. As said you can reduce the opacity to reduce the effect or/and use a mask to select a specific area of the photo where you want the effect.
So how does it work if you want to lighten part of your image:
Step 1: Copy the background layer and put it on top of the layers.
Step 2: Change the blending mode to soft light. By adding mask and reducing the opacity I created another effect.
Step 2: Change the blending mode to soft light. By adding mask and reducing the opacity I created another effect.

The best way to learn your blending modes is to just practise over and over again. If you want to know all the details of each blending mode just click here.
Friday, November 20, 2015
The new old import dialogue in Lightroom 6.3
Yet again, Adobe has launched a new version of Lightroom. It wasn't that long ago that I actually updated to the old new version of Adobe and this week it was time to update again.
In the previous update Adobe introduced a completely new import screen. I thought the new import dialogue incredibly helpful. Especially for new users of Lightroom. But a lot of photographers didn't share my opinion. Lots of people didn't I think the new import dialogue at all. So Adobe decided to restore the old import dialogue in their latest update.
Here is how it works:
Go to the Libary and click on the Import button

The import screen appears and you can browse to pictures that are already your computer.

If you attach your camera or cardreader you can selected the images from that device. Next: select the images.

On the right site of your screen you have some options:
File handling
Here you have the opportunity to build (smart) previews, ignore suspected duplicates and add the pictures to a (new) collection.

File renaming
You can give your files a different name

This can be very useful to give your files a logical name instead of the strange names your camera gives them
Apply during import
You can add keywords to the selected pictures. It's very important that you give your pictures keywords. It makes it easier to find your pictures.
In the metadata you can tell who you are and who is the owner (who has the copyright) of the pictures.

If you don't have a set up for your metadata click on new, give it a name and fill in the fields.

Last thing you can do in that part is to use a Develop Setting during the import. For example add some contrast or increase the saturation.

Destination
This is the location where you want to store your images
This option is not available when your pictures are already on your computer.
In the upper part of the screen you can also choose to copy the files as a DNG (Adobe's Digital Negative). In that case it's still a Raw file but smaller. And it's always compatible with the Adobe products.
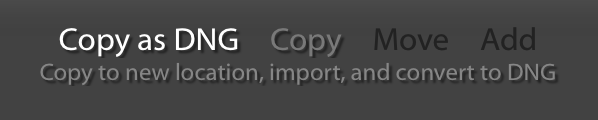
When your pictures are already on your pictures you just have the possibility to Add.
So go out and import! Wishing you a fabulous weekend and we will be posting again on Monday!
Don't forget to follow us on Facebook or 500px.
Wednesday, November 18, 2015
Another Photoshop tutorial: creating and running Actions
So when you're busy post processing, you'll probably have noticed that you're doing some things over and over again.
To make life a bit easier and post processing go a bit faster, I'd advise you to create an action for just such a thing. You can also create an action for things you find hard to remember. For example if you think the steps of Frequency Separation are hard to remember, you can make an action for it.
What exactly is an action?
An action is a series of tasks that you play back on a single file or a batch of files: menu commands, panel options, tool actions, and so on. For example, you can create an action that changes the size of an image, applies an effect to the image, and then saves the file in the desired format.
If you don't see your actions go to Window > Actions

When you open the actions panel, you see a lot of actions that are already there.


Actions can absolutely be a very useful tool in your post processing. But, let me stress that I think it's important that you actually understand how Photoshop works so that can actually do the actions yourself and last but not least, that you understand why things are happening.
Now you've seen what it looks like to run an action. Now let's make an action ourselves for Frequency Separation. Here's how it works.


Don't forget to follow us on Facebook or 500px.
To make life a bit easier and post processing go a bit faster, I'd advise you to create an action for just such a thing. You can also create an action for things you find hard to remember. For example if you think the steps of Frequency Separation are hard to remember, you can make an action for it.
What exactly is an action?
An action is a series of tasks that you play back on a single file or a batch of files: menu commands, panel options, tool actions, and so on. For example, you can create an action that changes the size of an image, applies an effect to the image, and then saves the file in the desired format.
If you don't see your actions go to Window > Actions

When you open the actions panel, you see a lot of actions that are already there.

If you want to use an action you can click on the play button and the action will be done.
After clicking on the play button of an action, you'll see all the steps of the action.

OK, so let's try one. I'll start with this photo and I'll add a wooden frame.

So I choose the action Wooden frame and clicked on the run button. The end result is our picture with a wooden frame.

Actions can absolutely be a very useful tool in your post processing. But, let me stress that I think it's important that you actually understand how Photoshop works so that can actually do the actions yourself and last but not least, that you understand why things are happening.
Now you've seen what it looks like to run an action. Now let's make an action ourselves for Frequency Separation. Here's how it works.
- Click on the button Make new Action
- Give the Action a name and click on Record

- Do the steps that you need to do for your action, in this case for Frequency Separation
- When you're done, stop the recording in the action Panel (the first button in the row)


Ofcourse you should always try out your newly created action. Just to check if it runs like intended.
So choose a picture and run the action
So choose a picture and run the action

The end result is a picture with 2 new layers where you can do the Frequency Separation.

So now it's time for you to get into action. See what works best for you and add some actions in your Photoshop post processing workflow.
All photos are from Pixabay.com
Subscribe to:
Posts (Atom)