Showing posts with label landscape. Show all posts

Thursday, May 12, 2016

Spinning around!

Not too long ago we were in Holland for a couple of days. Before we went, I drew up a list of photography goals and one of my goals was to shoot a long exposure shot of a mill. Unfortunately the weather was not what I had hoped for. 

Then again, that didn't withhold me from taking some pretty cool shots if I do say so myself. This is one of my favourites.

So how did I do this? 
It's actually pretty easy. First you need a windmill (dooh) and some wind so the windmill is actually spinning. The mill I shot had its sails turning quite slowly. 
I got out my gorilla pod and added an ND filter. With a shutter speed of 30 seconds at F20 I created this shot.

Once back home, I edited the picture in Lightroom. I followed my usual workflow. After that, I imported the picture into Tonality Pro (Macphun) and did some final editing. 

I guess it's a different image of a windmill than the usual Dutch windmill pictures. Do let me know what you think of it.

Don't forget to follow us on Facebook or 500px


And have you already discovered our Facebook page Humans of the Nordic Region?

Thursday, December 3, 2015

Content-aware scale made easy

Let's start with this image from Pixabay

It's an OK image but if you ask me, I think it'd work better in landscape format. And with the Content-aware scale, I can do just that! 

Mind you, this technique works best with pictures that have lots of open space. 

Let's start:
  1. Crop the picture holding the option/alt key for both sides
  2. Go to Edit > Content-aware scale and stretch the image holding option/ctrl key

There you have it! Now you've got the image in landscape format. These simple steps are the basics of the Content-aware scale. And look at the image, the wider view sure changes the atmosphere of the picture! 

Ready for a more advanced technique? Now try this: scale the picture while you protect a certain area (in this case the jetty). To to do this follow this steps:
  1. Make a selection of the jetty
  2. Load your selection as a channel (Go to Channels and add a new channel) 
  3. Fill it with white
  4. Go back to the layer and choose Edit > Content-aware scale. Select alpha 1 as the area you want to protect

  5. Now stretch your picture with the alt/option key
Voila! Now you've stretched the image but our selection was protected.


Find out for yourself what way works best for you. Play around with it and don't be afraid to discover new things! 

Don't forget to follow us on Facebook or 500px


And have you already discovered our brand new Facebook page Humans of the Nordic Region?


Tuesday, December 1, 2015

How to add trees in Photoshop

One of the hidden features in Photoshop is adding trees. 

Let's start with this image with one lonely tree. And I'm going to add one more tree in this scene. 

First thing to do is to add a new layer (so that I can move the tree into the picture).

The next step is to go to Filter > Render > Trees. 
A new screen appears where I can choose the tree I want.

There are loads of options. Just play around with it. 

One of the most important options is the light direction. I have to take a good look at my picture to see where the light is coming from and let the light come from the same direction on my new tree.

So yes, there's a forest of different trees to choose from: 

Pick a tree and design it the way you like and hit OK. I now have my new tree in my picture. 

I hit the V tool to move it to a better location. But the tree is way too big so I hit Cmd/Ctrl T to transform it (make it smaller).

Next step is to blend it into the landscape. I added some shadows and added some grass before the tree trunk.

There you have it! My lonely tree has a new friend! 


Don't forget to follow us on Facebook or 500px. And have you already discovered our brand new Facebook page Humans of the Nordic Region!

Friday, October 9, 2015

How to capture the magic

You've probably heard and read about it. With the solar storm raging, we've had some pretty amazing skies over Sweden the past days.

The night before last it was totally off the scale: pure magic! Instead of watching TV or reading my newly bought Lee Child, I checked the softservenews website to see Jämtland covered in red. Meaning highly highly active northern lights. For anyone familiar with this app it'll mean something when I say that the percentage was up to 75%.

No kidding. Just stepping out onto our balcony felt like standing frontrow on the most magical lightshow on earth. 

Although great, there's even better views around here. So I grabbed my gear and sprinted out the front door. 


How did I capture the magic?
  • You've got it. Like I said on occasion, for shoots like these, you'll be wanting to use a sturdy tripod
  • I used a shutterspeed of 30 seconds
  • My ISO was up to 320
  • And the aperture on F4
  • I guess it's even better to use a cable release, but I used the 2 seconds timer on my camera
I got back in the middle of the night. Or rather, in the early morning. So after having been out and about on Rödön, I went home to warm up and to import some pictures to see on a proper screen how they turned out. 

Couldn't help but keep an eye on the app and would you believe that the percentage was up to 99% now? No time for bed! Time to jump into the car to get to one of my favourite places to check out amazing skies: Frösön, near Frösön Kyrka. 

It was totally awe inspiring. I nearly forgot to take pictures as the northern lights were everywhere! Luckily I didn't, because I wanted to have a picture of the sky with the northern lights and with some stripes of lights of cars passing by.


I hadn't been planning this shoot. It was only by chance that I happened to check the forecast. Going out to shoot this amazing spectacle I could rely on my experience of previous shoots of the northern lights. 

Being critical of my own pictures. Seeing what can be improved, checking out how to improve. Always being on the lookout for better spots to take pictures. I'm continuously learning. 

Don't forget to follow us on Facebook or 500px.


Monday, September 21, 2015

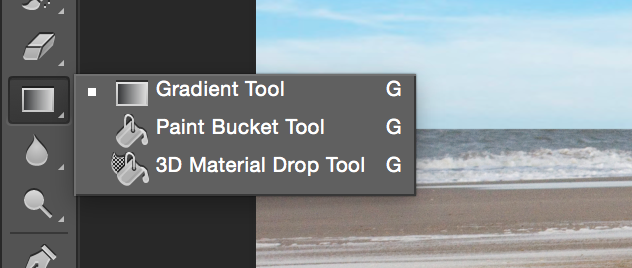
Tutorial: using the gradient tool

Do you have that happen to you too? You've got this cool image, but the sky is just not the way you like it to be. 

For example when you focus on the object, the sky can be blown out. This has to to with the dynamic range of your camera. That is the ability to see the correct highlights, midtones and darks. The eye has a way better dynamic range then your camera.

In Photoshop their are many ways to edit the sky. One is to select the old sky and fill it with a new sky and blend it together. Works pretty good but there is another - very simple! - way: using the gradient tool. 

So do bear in mind that you have to make sure the new sky fits the image in the way the light falls, the colour temp, the angle etc. 

This is how it works: 
1. Open the picture in Photoshop
In this case the sky is not bad but a little flat. So we're gonna replace it with a different sky.

2. Open the picture of the desired sky in Photoshop too

3. Bring the sky to the picture in step 1 with the move tool (V)

4. Move the sky in the right position and stretch it out with the free transfom tool (Ctrl/ Cmd + T)

Tip: lower the Opacity of that layer. This way it's easier to decide the best location for the new sky.

5. Add a Layer mask to the sky

6. Use the Gradient Tool (G)on the layer mask

7. Draw a line where the gradient should be affected. Holding the Shift key makes it a straight line

Voila! You've now blended the new sky into your image. 

Like you can see in the picture above, the sky is also blended in on the bikers. But you can easily mask the sky out with black Brush (B). 

With the Opacity of the layer you can arrange how much of the new/old sky should be visible.  

And this is the end result! 

So if you see a beautiful sky don't just watch and enjoy it, but make some pictures of it. You never know when you can use this sky!

Don't forget to follow us on Facebook or 500px.

Monday, September 7, 2015

Tutorial: composition

Every picture requires a subject. Every image is a story you'd like to portray. When planning your next shoot, these are 2 very important subjects to cover. What do I want to shoot, where, but also when. Where it comes to light, the best times are around sunrise and sunset. Shooting with the good light. But then again, you don't always have the luxury of shooting during your own preferred times and you have to make do with the light as it is. 

This post will give you some compositional ideas to use for your photography. As always: these are just tips. Don't ever forget to be creative and think out of the box. Remember, those rules out there are meant to be broken!

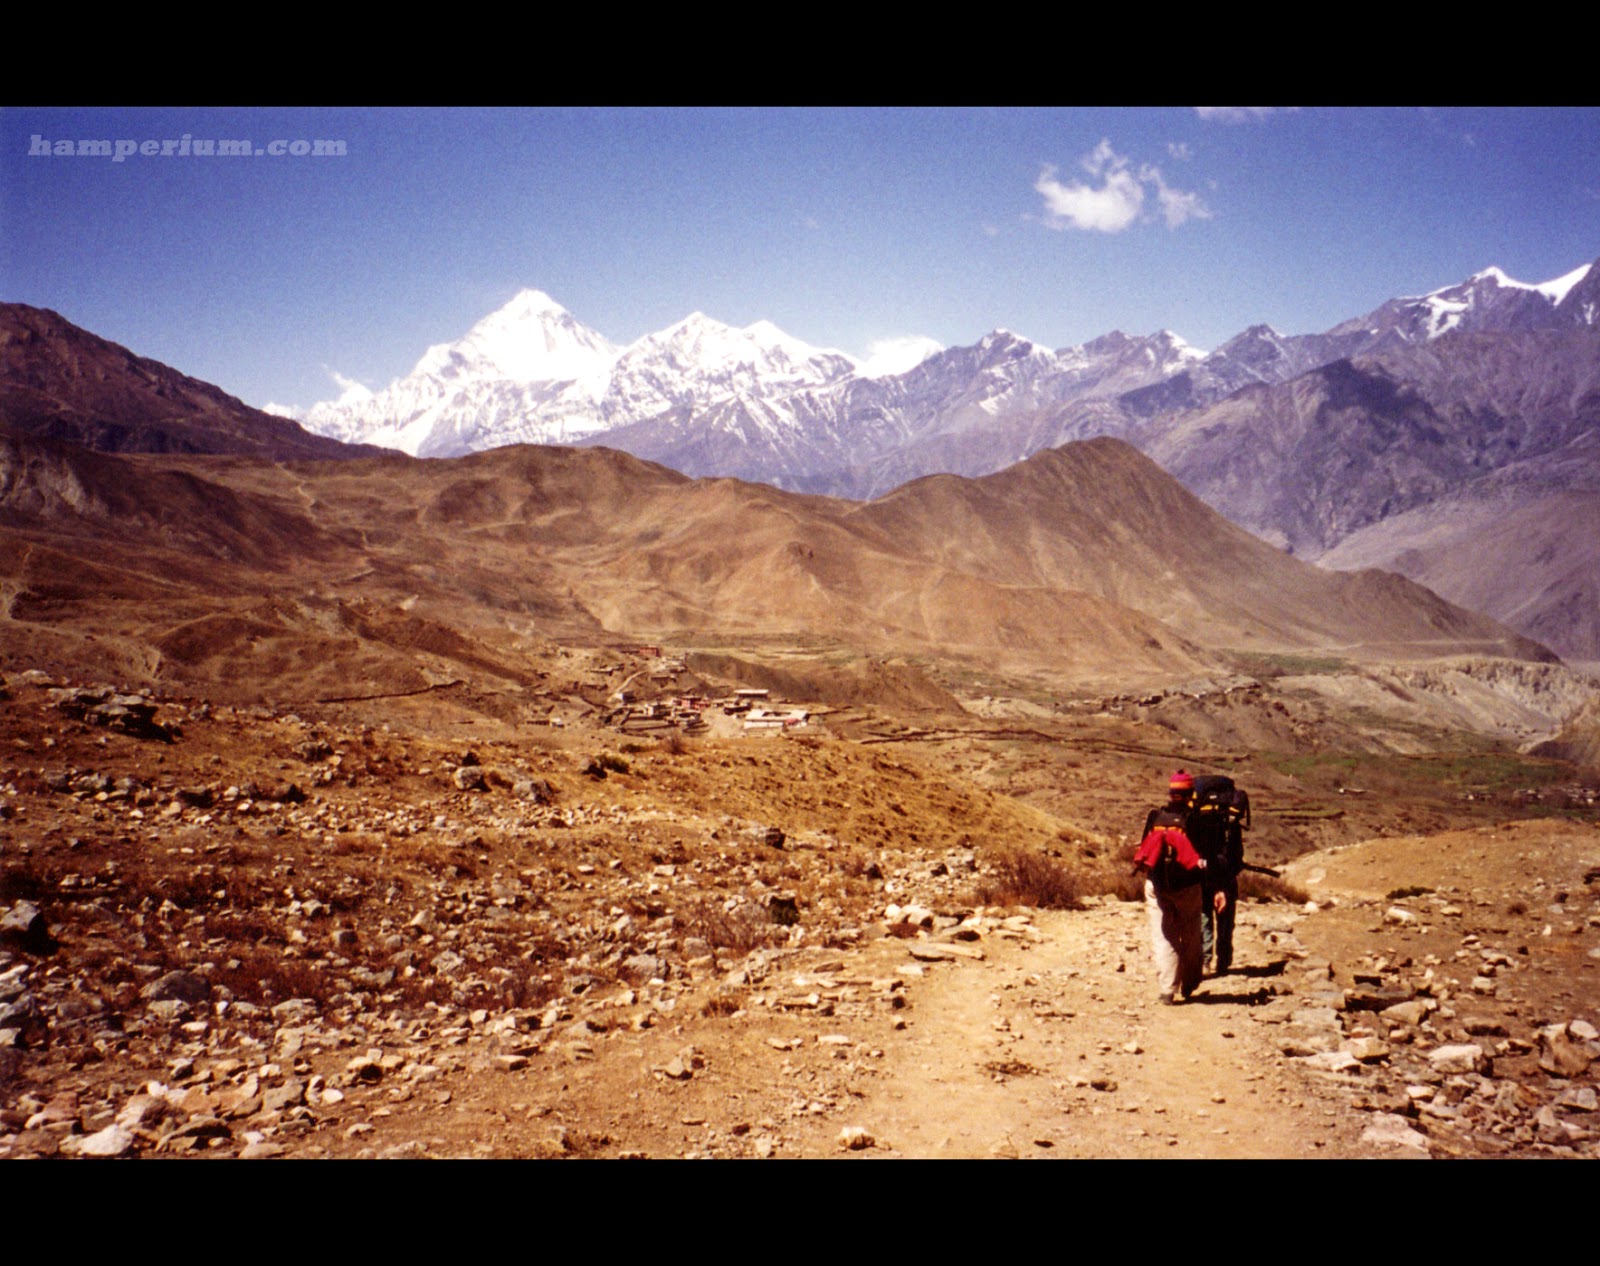
1. Rule of thirds
Put your subject not smack in the middle of your image but on a third to create a stronger picture.

Here's an example in an image I took when we were trekking in Nepal 
We've written about this rule before, remember? 

2. Leading lines
Leading lines are lines in an image that lead your eye right into the image.

3. Patterns
Use patterns to give your image more power. The image below shows that patterns in the sand can actually serve as leading lines. 

4. Diagonal
A diagonal line works generally good to direct the viewer's eye over the entire image

5. Reflection
Reflections can be used both to enhance the effect of your image as well as an eye-catching foreground. 

6. Foreground
In landscape photography it is of great importance to have a strong foreground, a solid middle ground and then a strong background again. The foreground draws the attention to the image. The middle and the background make sure the image is pleasing to the eye. 

7. Add a human
Add a human element in your image to add a sense of scale. 

 
The people on the images gives the viewer an idea how tiny we are in the big world. It also can give a building more power. For example the opera house in Oslo


Then again, it's not always that you'd want people in your shots when shooting buildings. Or interiors for that matter. Then it's just a question of either being very early (best chances of great light!) and/or being very patient. Or clone out the unwanted people in your image using Photoshop. 

8. Long exposure
When shooting water or for example moving clouds it's advisable to shoot with a long(er) exposure. That way, the water will turn out silkier and the clouds give the viewer a sense of movement. Make sure to bring a sturdy tripod though, because for longer exposure you sure need one. 

9. Colours
Colours draw attention. People are drawn to looking at colourful images. And in this particular image, it's the patterns in the wall that lead the eye to the colourful background. 

10. Get close (and low)
Go low and get close. When shooting landscapes don't forget to zoom to get a different image. Or crouch down for that matter. It might offer a whole new perspective when shooting from a different height. 

11. A frame in a frame
By creating a frame in your image, you lead the eye of the viewer straight into the picture. In this picture we shot through the window of a bus. It's adding depth and context and drawing the attention to a certain point. You can also use natural frame to shoot through, for example trees. 

12. Anchor points
When there's a lot going on in your picture, you can try to find an anchor point amidst the chaos. This picture was taken during the Ironman triathlon in Frankfurt. Thousands of athletes on their first meters of their swim. With a 400 mm I focussed on 1 athlete.
When getting in closer, it gives a different feeling and atmosphere.

13. Shapes
Shapes always work great to create an interesting image.  See this example of the Nescio bridge in Amsterdam

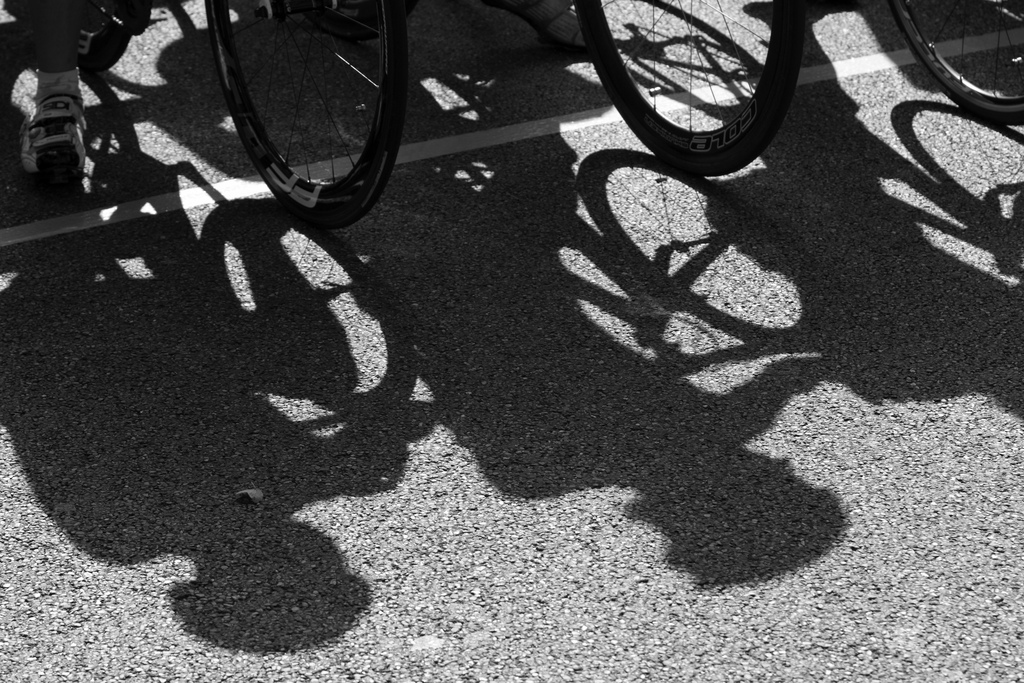
14. Shadows
Shadows add contrast to your image

There's sooo much more with regards to composition you can think of: use flash, use backlight, starburst or triangel shapes. 

Go out there and give it a go. Don't be turned off by the autumnal weather. There's so many beautiful things and situations out there. It's up to you how you document them. 

PS Do you already follow us on Facebook