Showing posts with label holland. Show all posts

Friday, July 15, 2016

How to be straight in Lightroom

It has just become even easier to straighten an image in Lightroom! 

Lightrooms latest update (6.6) has a new section in the Develop module called Transform. What's new here is the guided option.  

With this option you can straighten horizontal and vertical lines in your image. To show you how it works, I've used one of my old pictures.

Before I go to the Transform section, I checked Lens correction:

Adobe recommends to do this before you use the transformation options. After the lens correction, I opened Transformation and picked Guided.

Just draw lines on those parts of the image that you want to have straightened (horizontally and vertically). Click done to apply it to your image. Now the lines are corrected. 

Bear in mind that the result can be that you lose some information from the edges of the picture. This can be easily fixed though by cropping your image.

I find this feature pretty helpful! Especially in a picture like this with many buildings. 

Don't forget to follow us on Facebook or 500px. 

And have you already discovered our Facebook page Humans of the Nordic Region?


Thursday, May 12, 2016

Spinning around!

Not too long ago we were in Holland for a couple of days. Before we went, I drew up a list of photography goals and one of my goals was to shoot a long exposure shot of a mill. Unfortunately the weather was not what I had hoped for. 

Then again, that didn't withhold me from taking some pretty cool shots if I do say so myself. This is one of my favourites.

So how did I do this? 
It's actually pretty easy. First you need a windmill (dooh) and some wind so the windmill is actually spinning. The mill I shot had its sails turning quite slowly. 
I got out my gorilla pod and added an ND filter. With a shutter speed of 30 seconds at F20 I created this shot.

Once back home, I edited the picture in Lightroom. I followed my usual workflow. After that, I imported the picture into Tonality Pro (Macphun) and did some final editing. 

I guess it's a different image of a windmill than the usual Dutch windmill pictures. Do let me know what you think of it.

Don't forget to follow us on Facebook or 500px. 


And have you already discovered our Facebook page Humans of the Nordic Region?

Wednesday, April 6, 2016

Inspiration for your photography

I know, I blogged about this before. But I think it's important to blog about it again because I came across this really cool video. It's a TED talk by Erik Johansson and totally love it.  It reminds me of the work of Adrian Sommeling and it gave me so much new inspiration and new ideas! 

Just Google these guys to get an idea of their work:  
Adrian Sommeling

 Erik Johansson

If you ask me, the best sentence in the TED talk of  Erik Johannson is  'Capture the idea instead of capture the moment.'  

Another photographer I totally love is Serge Ramelli. Recently he made some videos called 'On the trail of Ansel Adams' (videos). It inspired me to make more black and white landscape pictures.  

Go out there, either on the net or outside or listen to some great music. Let that inspiration come to you! 

Don't forget to follow us on Facebook or 500px. 


And have you already discovered our Facebook page Humans of the Nordic Region?

Sunday, January 31, 2016

To the stars... and beyond! Adding stars with Photoshop

In a previous post we added snow in Photoshop and, with a similar technique, we can also add to a picture in Photoshop.

Yes, it all starts with opening the picture you want to work with. This is the image where we want to add stars in the dark sky to give the image another look and feel. 

First step is to make the star brush. Open a new document (500 by 500 px)

Choose a brush with a hardness of round 60%

Make two dots with a different (small) size

I'm saving this as my brush (edit > define brush preset, and name your brush)

Now we go back to our picture with the dark star-less sky. We're adding a new blank layer and choose the brush (B) we just created. Open the brush (windows > brush) and change it to the settings as underneath:


There you have it: a great brush to create stars. Don't forget to save it. 

Click on New Brush Preset and name it. 

Now we're ready to paint the stars in this image. Use your new brush to create white stars in the sky. 

But as the brush also touched the building and the sea, we need to remove the stars there. To remove them we're adding a mask to the layer and choose a normal soft brush and paint with black on the parts where we don't want to have the stars.

Now we have our stars in the sky but it doesn't really look real just yet. To create a good realistic look and feel, we begin with adding a glow to the stars. Choose the layer of the stars (not the mask) and click on 'fx' and blending options. Now choose Outer glow.
 
We picked a warm colour with the colour picture. In our case the color of the beach. When you have an image that is colder you should also pick a colder shade to make it look more realistic.

The last thing we're going to do is to give a little blur to the stars. To do this go to Filter > Blur > Motion blur
It's important to choose a small distance. In our case we went with 3 pixels.

And what's left to do is to flatten the image using Cmd E. 

To the stars... and beyond! Now we've created a sky full of stars. 

Don't forget to follow us on Facebook or 500px. 


And have you already discovered our brand new Facebook page Humans of the Nordic Region?

Picture from pixabay.com

Monday, September 7, 2015

Tutorial: composition

Every picture requires a subject. Every image is a story you'd like to portray. When planning your next shoot, these are 2 very important subjects to cover. What do I want to shoot, where, but also when. Where it comes to light, the best times are around sunrise and sunset. Shooting with the good light. But then again, you don't always have the luxury of shooting during your own preferred times and you have to make do with the light as it is. 

This post will give you some compositional ideas to use for your photography. As always: these are just tips. Don't ever forget to be creative and think out of the box. Remember, those rules out there are meant to be broken!

1. Rule of thirds
Put your subject not smack in the middle of your image but on a third to create a stronger picture.

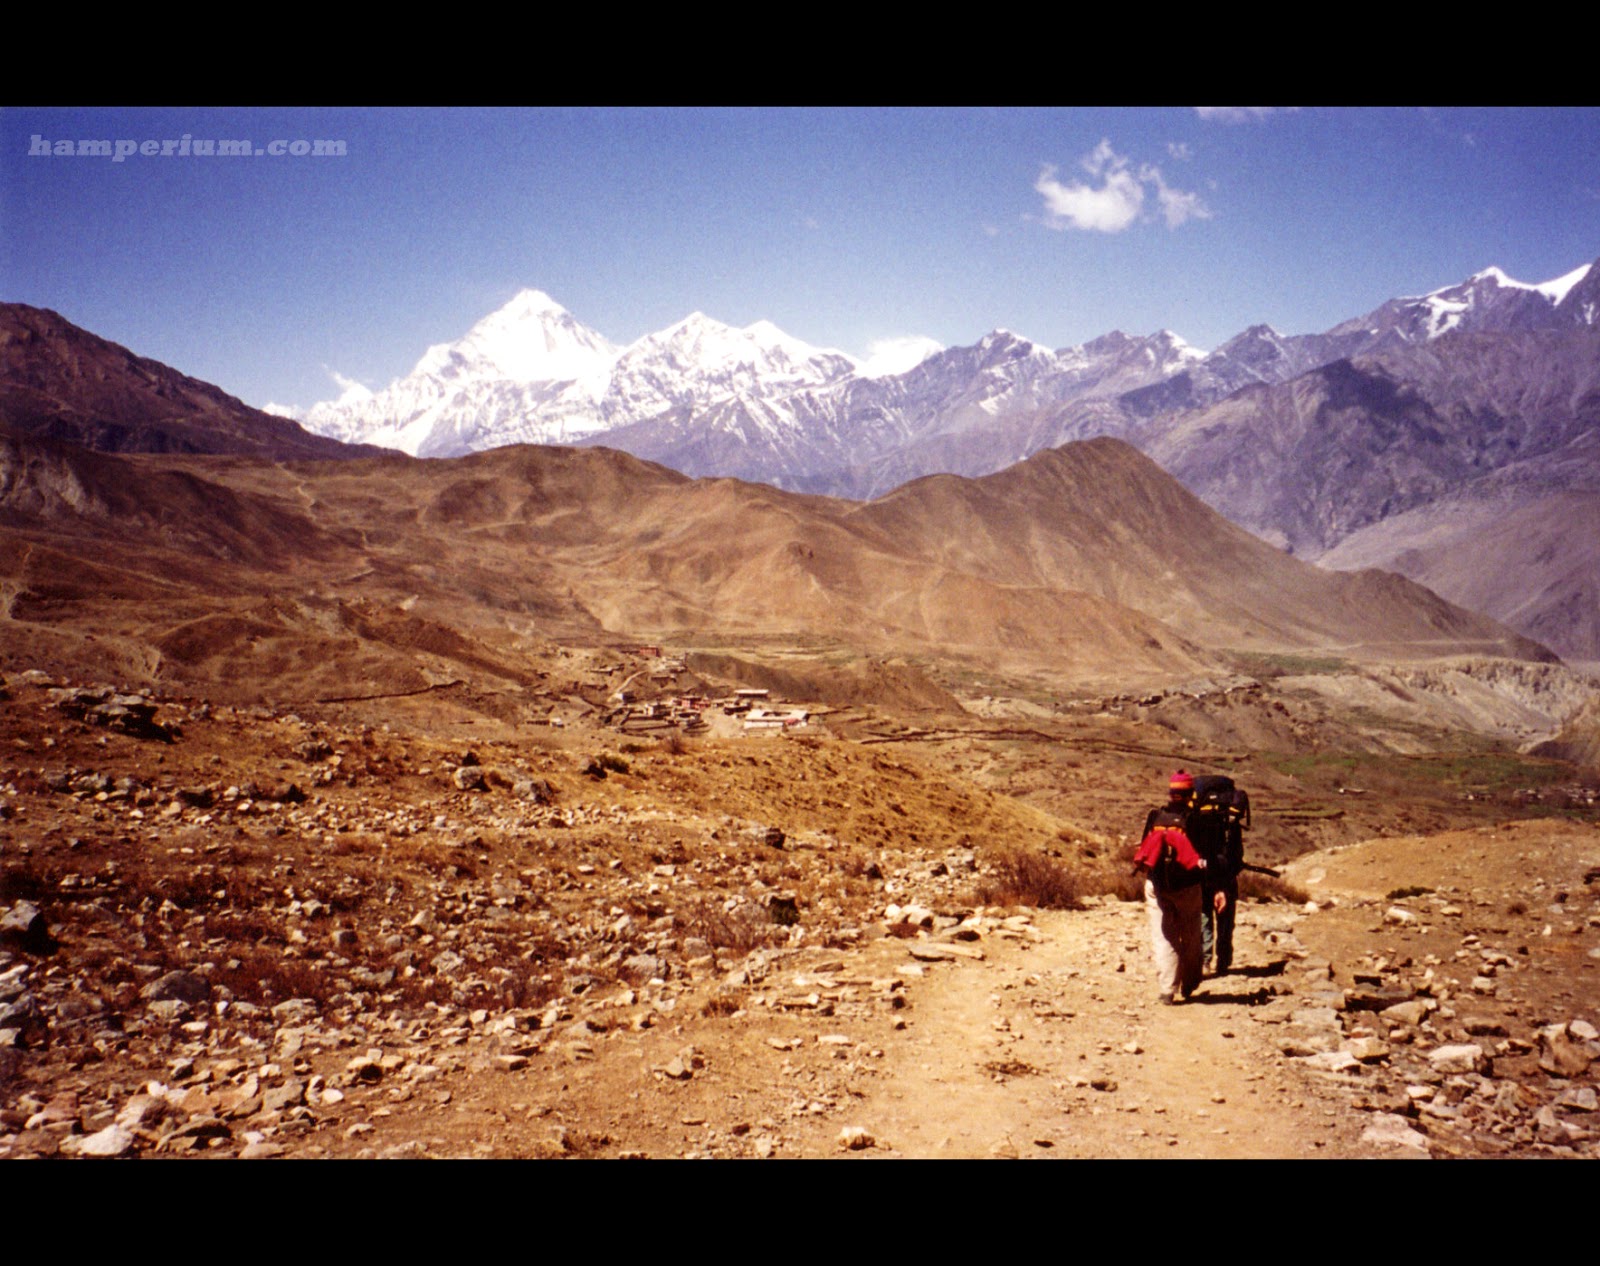
Here's an example in an image I took when we were trekking in Nepal 
We've written about this rule before, remember? 

2. Leading lines
Leading lines are lines in an image that lead your eye right into the image.

3. Patterns
Use patterns to give your image more power. The image below shows that patterns in the sand can actually serve as leading lines. 

4. Diagonal
A diagonal line works generally good to direct the viewer's eye over the entire image

5. Reflection
Reflections can be used both to enhance the effect of your image as well as an eye-catching foreground. 

6. Foreground
In landscape photography it is of great importance to have a strong foreground, a solid middle ground and then a strong background again. The foreground draws the attention to the image. The middle and the background make sure the image is pleasing to the eye. 

7. Add a human
Add a human element in your image to add a sense of scale. 

 
The people on the images gives the viewer an idea how tiny we are in the big world. It also can give a building more power. For example the opera house in Oslo


Then again, it's not always that you'd want people in your shots when shooting buildings. Or interiors for that matter. Then it's just a question of either being very early (best chances of great light!) and/or being very patient. Or clone out the unwanted people in your image using Photoshop. 

8. Long exposure
When shooting water or for example moving clouds it's advisable to shoot with a long(er) exposure. That way, the water will turn out silkier and the clouds give the viewer a sense of movement. Make sure to bring a sturdy tripod though, because for longer exposure you sure need one. 

9. Colours
Colours draw attention. People are drawn to looking at colourful images. And in this particular image, it's the patterns in the wall that lead the eye to the colourful background. 

10. Get close (and low)
Go low and get close. When shooting landscapes don't forget to zoom to get a different image. Or crouch down for that matter. It might offer a whole new perspective when shooting from a different height. 

11. A frame in a frame
By creating a frame in your image, you lead the eye of the viewer straight into the picture. In this picture we shot through the window of a bus. It's adding depth and context and drawing the attention to a certain point. You can also use natural frame to shoot through, for example trees. 

12. Anchor points
When there's a lot going on in your picture, you can try to find an anchor point amidst the chaos. This picture was taken during the Ironman triathlon in Frankfurt. Thousands of athletes on their first meters of their swim. With a 400 mm I focussed on 1 athlete.
When getting in closer, it gives a different feeling and atmosphere.

13. Shapes
Shapes always work great to create an interesting image.  See this example of the Nescio bridge in Amsterdam

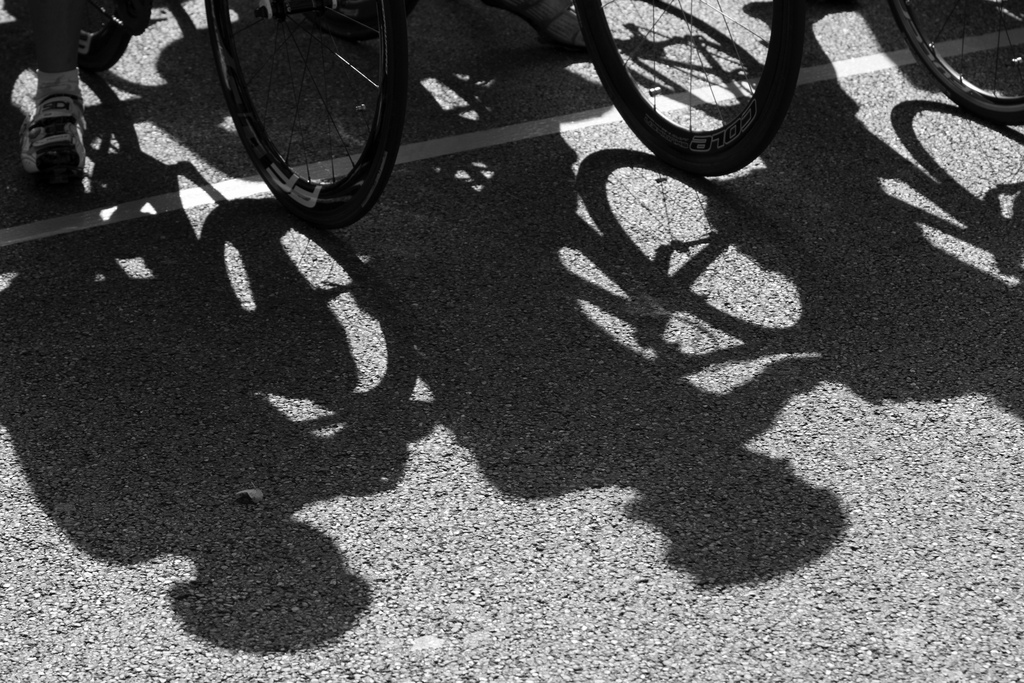
14. Shadows
Shadows add contrast to your image

There's sooo much more with regards to composition you can think of: use flash, use backlight, starburst or triangel shapes. 

Go out there and give it a go. Don't be turned off by the autumnal weather. There's so many beautiful things and situations out there. It's up to you how you document them. 

PS Do you already follow us on Facebook?