Showing posts with label norge. Show all posts

Monday, July 25, 2016

Go where the action is

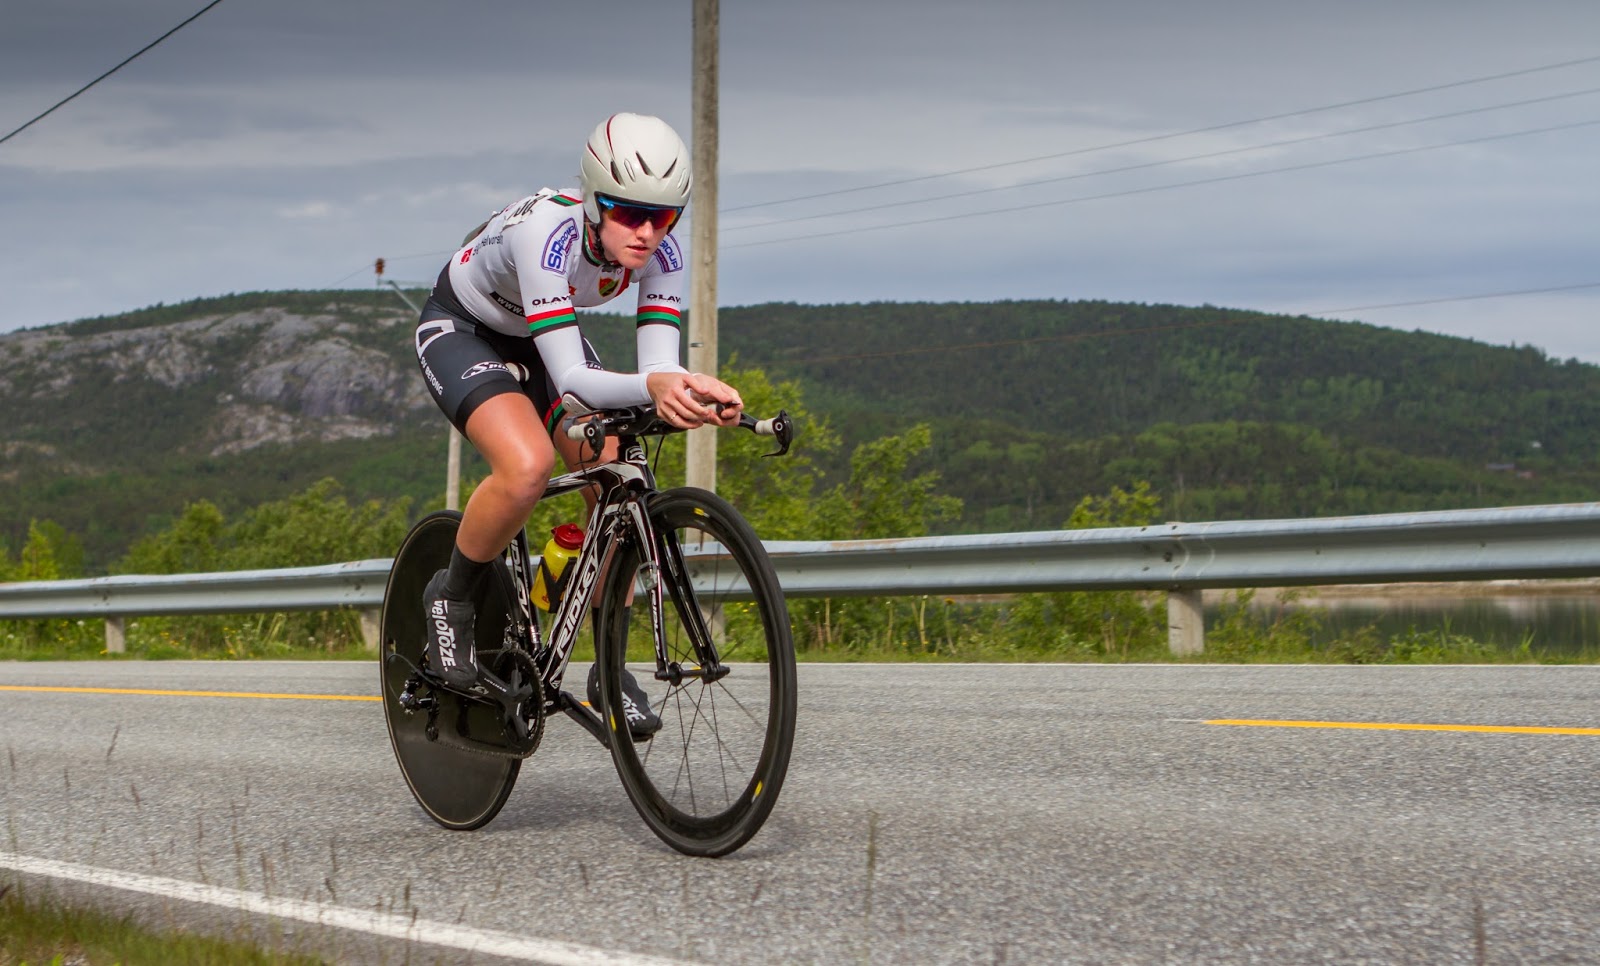
During our Norwegian roadtrip, we had the fortune of landing in the middle of the Norwegian Championships Time Trial. I guess it'll come as no surprise that we didn't hesitate to take out our cameras and to shoot some images. 

The first evening we were at the location, there was the team trial. It finished at the camping at the Saltstraumen. 

Saltstraumen is a small strait with one of the strongest tidal current in the world. It is located in the municipality of Bodø in Nordland county,Norway. It is located about 10 kilometres (6.2 mi) southeast of the town of Bodø. The narrow channel connects the outer Saltfjorden to the large Skjerstadfjorden between the islands of Straumøya and Knaplundsøya. The Saltstraumen Bridge on Norwegian County Road 17 crosses the Saltstraumen.

The last kilometer of the team time trial was challenging with crossing the bridge over the Saltstraumen to the finishline.  


The following day, our road trip took us south and we covered some of the individual time trail runs. We positioned ourselves just after one of those typical bridges. Just after the really mountainous part of the trail began. 


Road 17 is also a very popular road for bikers going to the North Cape.

Don't forget to follow us on Facebook or 500px. 


And have you already discovered our Facebook page Humans of the Nordic Region?


Monday, May 30, 2016

Hidden treasures!

Thanks to a tip, we discovered a great spot for hiking not far from home. Yesterday we hiked up Suljätten and the view was just phenomenal! Unparalleled 360 degree views! 


Take the E14 towards Järpen. Once in Järpen, drive towards Kallsedet. You'll find Suljätten by driving past Kall and towards Konäs. Mind you, it's only a small wooden sign that points towards the start of the trail, so after you've passed Konäs Camping, keep your eyes peeled for the Suljätten sign on your right. 

The Suljätten area is one of those hidden Jämtland gems. There are hiking tracks, although not all very well maintained, but that just adds to the charm. It took us about 2 hours to reach the top of Suljätten and let me tell you that the view truly is spectacular! From the top you can see Skäckerfjällen in the distance, Åreskutan, Kallsjön and the beautiful myrlandskapet. 

It's an easy and pleasant walk through the forest. When getting closer to the top, the climb gets a bit more demanding, but those views just keep getting better and better so it's just to keep going. 

From the top you have the most amazing 360 degree view over Jämtland.


To wet your appetite even further, check out this 360 degree video we shot at Suljätten.

Don't forget to follow us on Facebook or 500px. 


And have you already discovered our Facebook page Humans of the Nordic Region?

Monday, January 4, 2016

Saving a development preset in Lightroom

In Lightroom you can work with presets. A preset can be a good starting point for your post processing. You can ofcourse buy them, but why not make them yourself? I'll show you how: 

I'll start with this picture and my aim is to turn the picture B/W. 

I started out with: My actions:
  1. Adding some contrast
  2. Bringing back the highlights
  3. Opening the shadows
Then I found a good B/W point

Next is the profile correction and removing the chromatic aberration:

And then what's left is to change the image to B/W by clicking on B&W in the panel showed underneath
By dragging the sliders you can change the colors in your B/W image.

The most important global adjustments have been made now. If so desired, local adjustments can be made at this point. I used the radial and graduated filter. I didn't opt for the brush as a brush can't be saved in the preset. The image below is the result of the actions I described: 

As I'm aiming to create more pictures like this, I'm saving all my editing actions using a preset. To do so, all you need to do is opening the preset panel at the left site of the screen.
 

Now click on the + sign in the header of the panel. A new screen appears. Give your preset a name and check all the options that you want to have in your preset.

 
Click on Create to save your preset. In this case I saved it in the User Presets folder. Go to the folder and voila! There's your very own preset. 

To use your new preset, all you need to do is open another picture and use the preset to make it B/W.

Just go the preset folder and click on the preset you just created. The image is now B/W. If you want to edit some more on top of the preset, use local adjustments. Don't forget to check you radial and graduated filters and move them to correct spot in your image.


Have fun creating your own development presets! 

Don't forget to follow us on Facebook or 500px. 


And have you already discovered our brand new Facebook page Humans of the Nordic Region?


Monday, October 12, 2015

Life without colour. How to create stunning B/W images.

I guess it's a question of taste. And of what I got used to over the years. Most of my work I've done in colour. For me it's the colours that speak out in an image. The colours that draw you towards or even into an image. 

But recently I've started to see the fun and the beauty in black and white images. I still think it tricky to decide when to go black and white though. In our recent trip to Trondheim, I tried my hand at street photography, mainly to see how this would turn out in black and white. 

Street photography is a whole different ballgame and an artform in itself. This is one of the pictures I took in Trondheim, it's ok, but it's definately not eye-popping. Actually kinda boring. 

Just to get started I cropped it using Lightroom and did some small adjustments. Then I edited it in Tonality (mac only) and voila! A whole new picture, now the people in the picture came to life! Gone is the dull grey and brownness of the colour version! 

I love Tonality for converting images to black and white. And I think it's really cool that it has the possibility to work with layers. For those of you not too familiar with Tonality, I'll write a tutorial some time soon! 

Tonality has a good compatibility with Lightroom. So when you're done in Tonality, you can edit it even more in Lightroom. Another option is to use Silver Efex Pro to convert your images to black and white. And ofcourse you can also do it without a plugin and just use Lightroom to make an awesome black and white image. 

The end result is a picture with more focus on the main subject and the boring colors are gone. Impact is a lot bigger now.

But still: when to go from colour to black and white? The day I tried my hand at street photography it was a cloudy day. And this works actually really well for black and white. Check out some more examples of my day in Trondheim: 


The key to a stunning black and white image is the contrast and variation in black and white. Black and white is more than just two colours in your picture. Black and white is contrast, sharpness and different shades of black and white. Here's another example from Trondheim:  
 
I loved the reflection on the ground but this didn't work in the colour version of the image. Again, it was a dull image with no depth or atmosphere. When going black and white, the reflection that caught my eye in the first place, really popped out. And the whole atmosphere in the picture now reflected what I first felt when taking the shot. 


So bottomline is: go black and white for a reason. Don't cheat yourself with going black and white because you think black and white solves all that doesn't work in the colour version. This video of Serge Ramelli. has been a great inspiration to me for starting (again) with black and white. I love the way Serge explains things.

Don't forget to follow us on 
Facebook or 500px.


Monday, October 5, 2015

Flying high

Sure, preparation is key. 

But every now and then you just get lucky with being in the right place at the right time. This weekend, we were in Trondheim and we happened to bump into the guys from bmxshow.no. They provided a spectacular BMX show, right in the city center! 

From having prepared for cityscapes, we quickly shifted to doing extreme sports shots! These guys barrel down the 'runway' at amazing speeds, so we used fast shutterspeed on an overcast day to catch the action. 


So hang tight, we will be posting on cityscapes later on. But we thought this too cool to not share with you today! 


Don't forget to follow us on Facebook or 500px.
 

Thursday, October 1, 2015

You only fail when you stop trying

Time flies. It was almost a week ago that I hiked to the Pyramides. As you can tell by looking at the pictures, it was a pretty cloudy day. The weather forecast was a lot more optimistic than the weather actually turned out. But still, I reckon I got at least a few decent shots and with all the clouds the images get a bit more depth and colour. 


On days like these, you appreciate it even more when the sun does come out for a bit. 

But if I'm honest, I wished I had a bit more sun. So I've made a promise to myself to go back here at least once (and maybe meet the king and his following). 

I actually learned a lot of this trip. I shot some really bad pictures, some pictures that are OK but could be way better and just a couple of images that I really like. I've found that with my photography and I guess with photography in general it's a matter of learning and trying. And I consider it really important to be really critical when looking at your own images. What do you like, what can be improved and how do you reckon you'll achieve that next time? 

A few days earlier I took a stroll along the lakeside close to where we live. Although weather predictions change by the hour here, I did look at the weather forecast before I set off. It was predicted that the sun would come out in about an hour. And yep. The forecast changed while I was out because I ended up never seeing the sun! 

Wandering along the lake side in the rain I did take some pictures, trying to capture the autumnal beauty. Turned out that of all the pictures I took, there was only 1 worth saving: the one I took with my Samsung phone, go figure. 

Don't overthink your pictures. There's beauty in simplicity. 

This weekend we're off to Trondheim. I'm really looking forward to doing some architectural and street photography. I haven't looked at the weather forecast in the past days, but I'm hoping for some sunshine or at least a great sunrise and sunset to take pictures in the blue and golden hour.  

Don't forget to follow us on Facebook or 500px. 


Monday, September 7, 2015

Tutorial: composition

Every picture requires a subject. Every image is a story you'd like to portray. When planning your next shoot, these are 2 very important subjects to cover. What do I want to shoot, where, but also when. Where it comes to light, the best times are around sunrise and sunset. Shooting with the good light. But then again, you don't always have the luxury of shooting during your own preferred times and you have to make do with the light as it is. 

This post will give you some compositional ideas to use for your photography. As always: these are just tips. Don't ever forget to be creative and think out of the box. Remember, those rules out there are meant to be broken!

1. Rule of thirds
Put your subject not smack in the middle of your image but on a third to create a stronger picture.

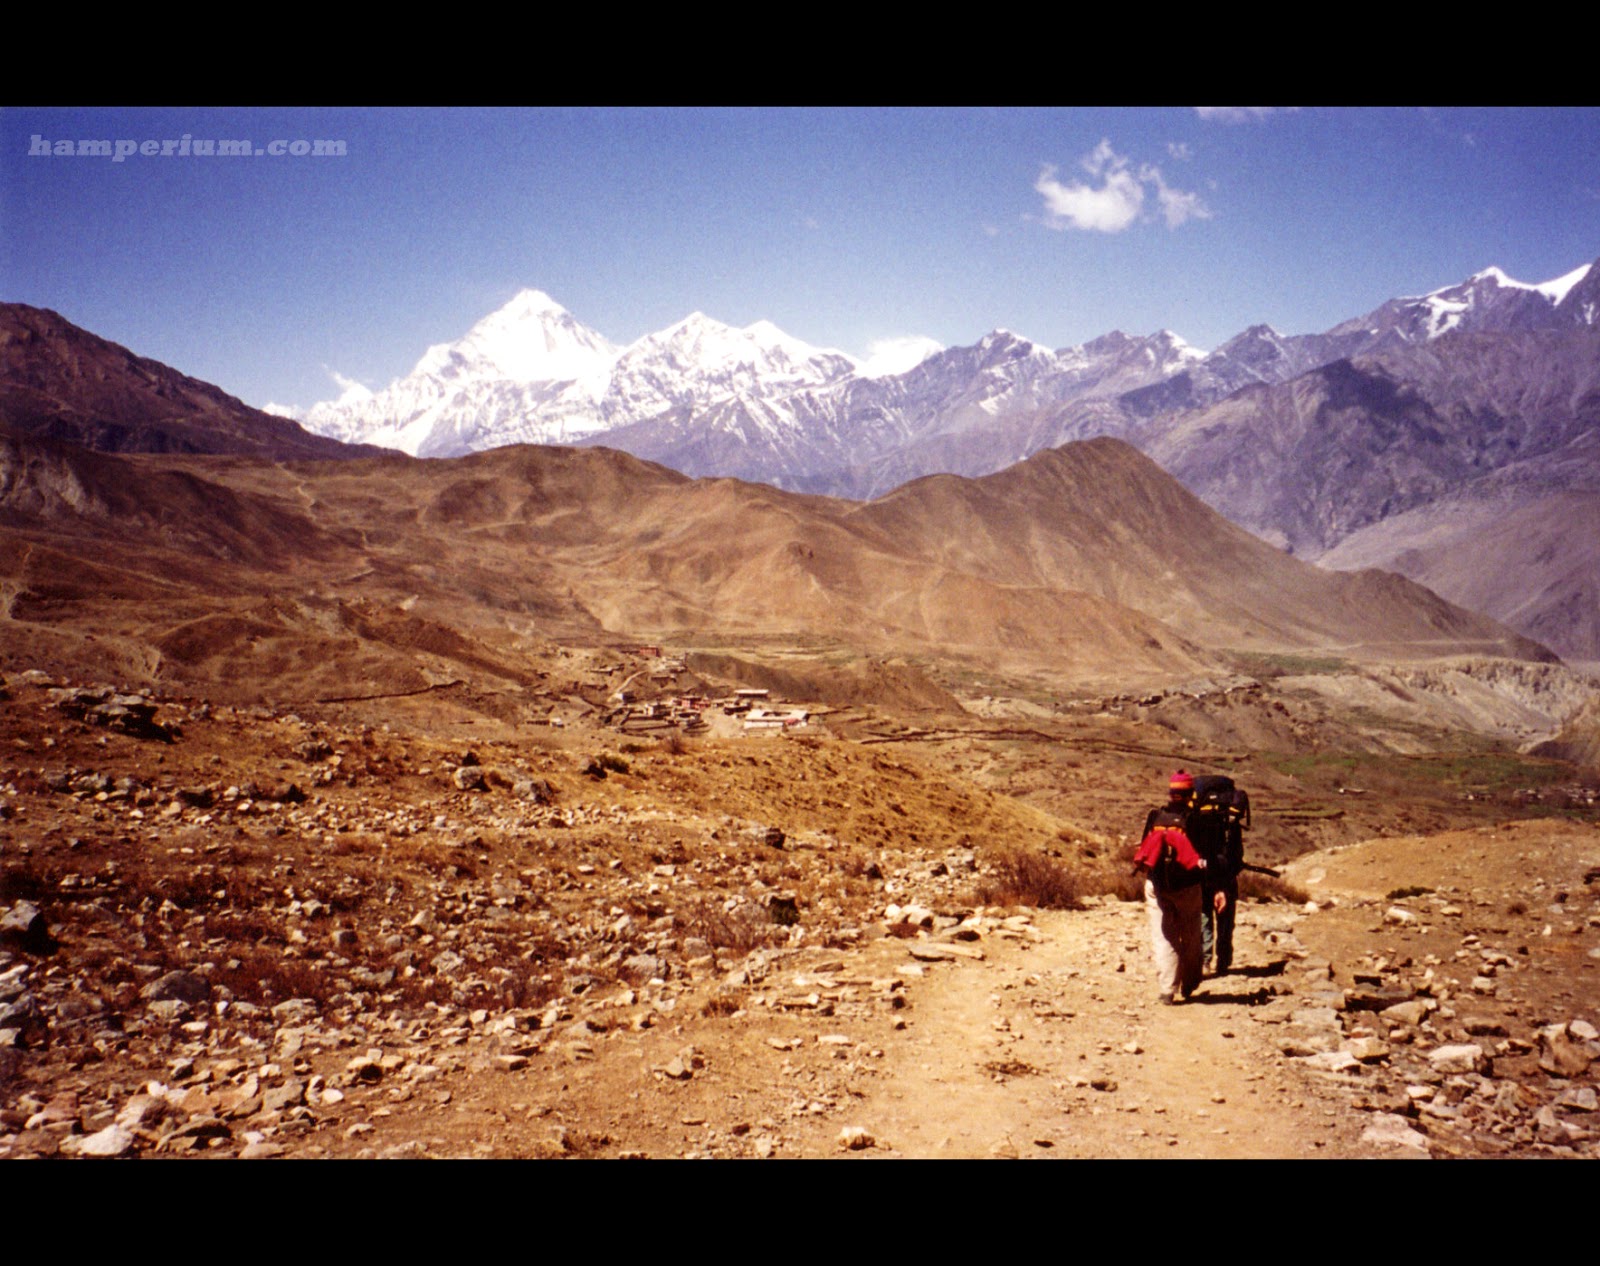
Here's an example in an image I took when we were trekking in Nepal 
We've written about this rule before, remember? 

2. Leading lines
Leading lines are lines in an image that lead your eye right into the image.

3. Patterns
Use patterns to give your image more power. The image below shows that patterns in the sand can actually serve as leading lines. 

4. Diagonal
A diagonal line works generally good to direct the viewer's eye over the entire image

5. Reflection
Reflections can be used both to enhance the effect of your image as well as an eye-catching foreground. 

6. Foreground
In landscape photography it is of great importance to have a strong foreground, a solid middle ground and then a strong background again. The foreground draws the attention to the image. The middle and the background make sure the image is pleasing to the eye. 

7. Add a human
Add a human element in your image to add a sense of scale. 

 
The people on the images gives the viewer an idea how tiny we are in the big world. It also can give a building more power. For example the opera house in Oslo


Then again, it's not always that you'd want people in your shots when shooting buildings. Or interiors for that matter. Then it's just a question of either being very early (best chances of great light!) and/or being very patient. Or clone out the unwanted people in your image using Photoshop. 

8. Long exposure
When shooting water or for example moving clouds it's advisable to shoot with a long(er) exposure. That way, the water will turn out silkier and the clouds give the viewer a sense of movement. Make sure to bring a sturdy tripod though, because for longer exposure you sure need one. 

9. Colours
Colours draw attention. People are drawn to looking at colourful images. And in this particular image, it's the patterns in the wall that lead the eye to the colourful background. 

10. Get close (and low)
Go low and get close. When shooting landscapes don't forget to zoom to get a different image. Or crouch down for that matter. It might offer a whole new perspective when shooting from a different height. 

11. A frame in a frame
By creating a frame in your image, you lead the eye of the viewer straight into the picture. In this picture we shot through the window of a bus. It's adding depth and context and drawing the attention to a certain point. You can also use natural frame to shoot through, for example trees. 

12. Anchor points
When there's a lot going on in your picture, you can try to find an anchor point amidst the chaos. This picture was taken during the Ironman triathlon in Frankfurt. Thousands of athletes on their first meters of their swim. With a 400 mm I focussed on 1 athlete.
When getting in closer, it gives a different feeling and atmosphere.

13. Shapes
Shapes always work great to create an interesting image.  See this example of the Nescio bridge in Amsterdam

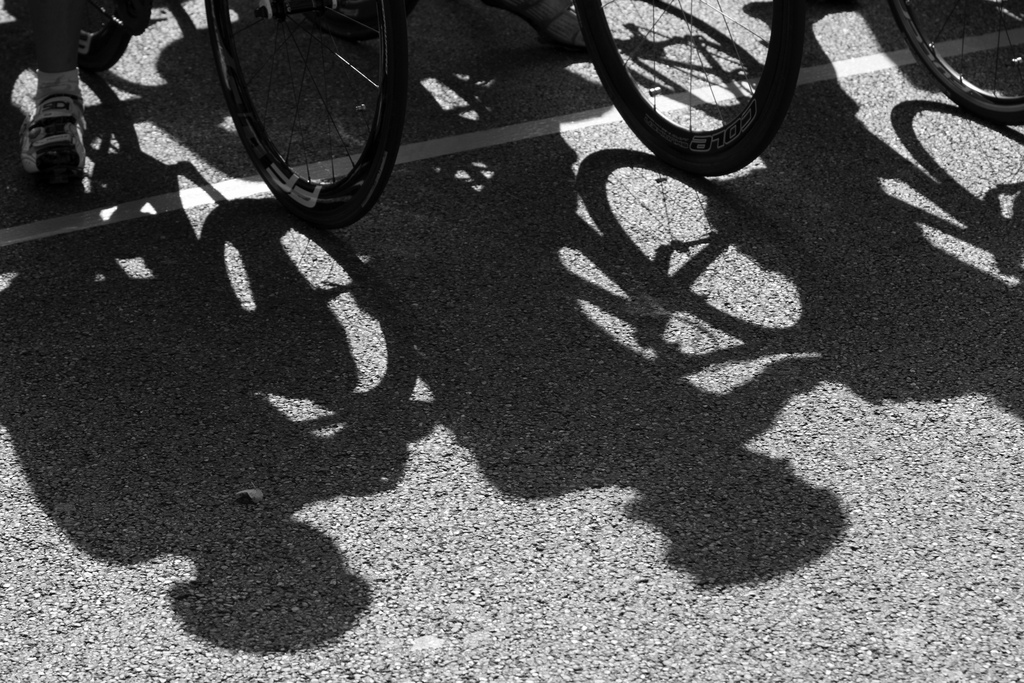
14. Shadows
Shadows add contrast to your image

There's sooo much more with regards to composition you can think of: use flash, use backlight, starburst or triangel shapes. 

Go out there and give it a go. Don't be turned off by the autumnal weather. There's so many beautiful things and situations out there. It's up to you how you document them. 

PS Do you already follow us on Facebook?