
This post will give you some compositional ideas to use for your photography. As always: these are just tips. Don't ever forget to be creative and think out of the box. Remember, those rules out there are meant to be broken!
1. Rule of thirds
Put your subject not smack in the middle of your image but on a third to create a stronger picture.

Here's an example in an image I took when we were trekking in Nepal

2. Leading lines
Leading lines are lines in an image that lead your eye right into the image.


3. Patterns
Use patterns to give your image more power. The image below shows that patterns in the sand can actually serve as leading lines.

4. Diagonal
A diagonal line works generally good to direct the viewer's eye over the entire image

5. Reflection
Reflections can be used both to enhance the effect of your image as well as an eye-catching foreground.

6. Foreground
In landscape photography it is of great importance to have a strong foreground, a solid middle ground and then a strong background again. The foreground draws the attention to the image. The middle and the background make sure the image is pleasing to the eye.


7. Add a human
Add a human element in your image to add a sense of scale.


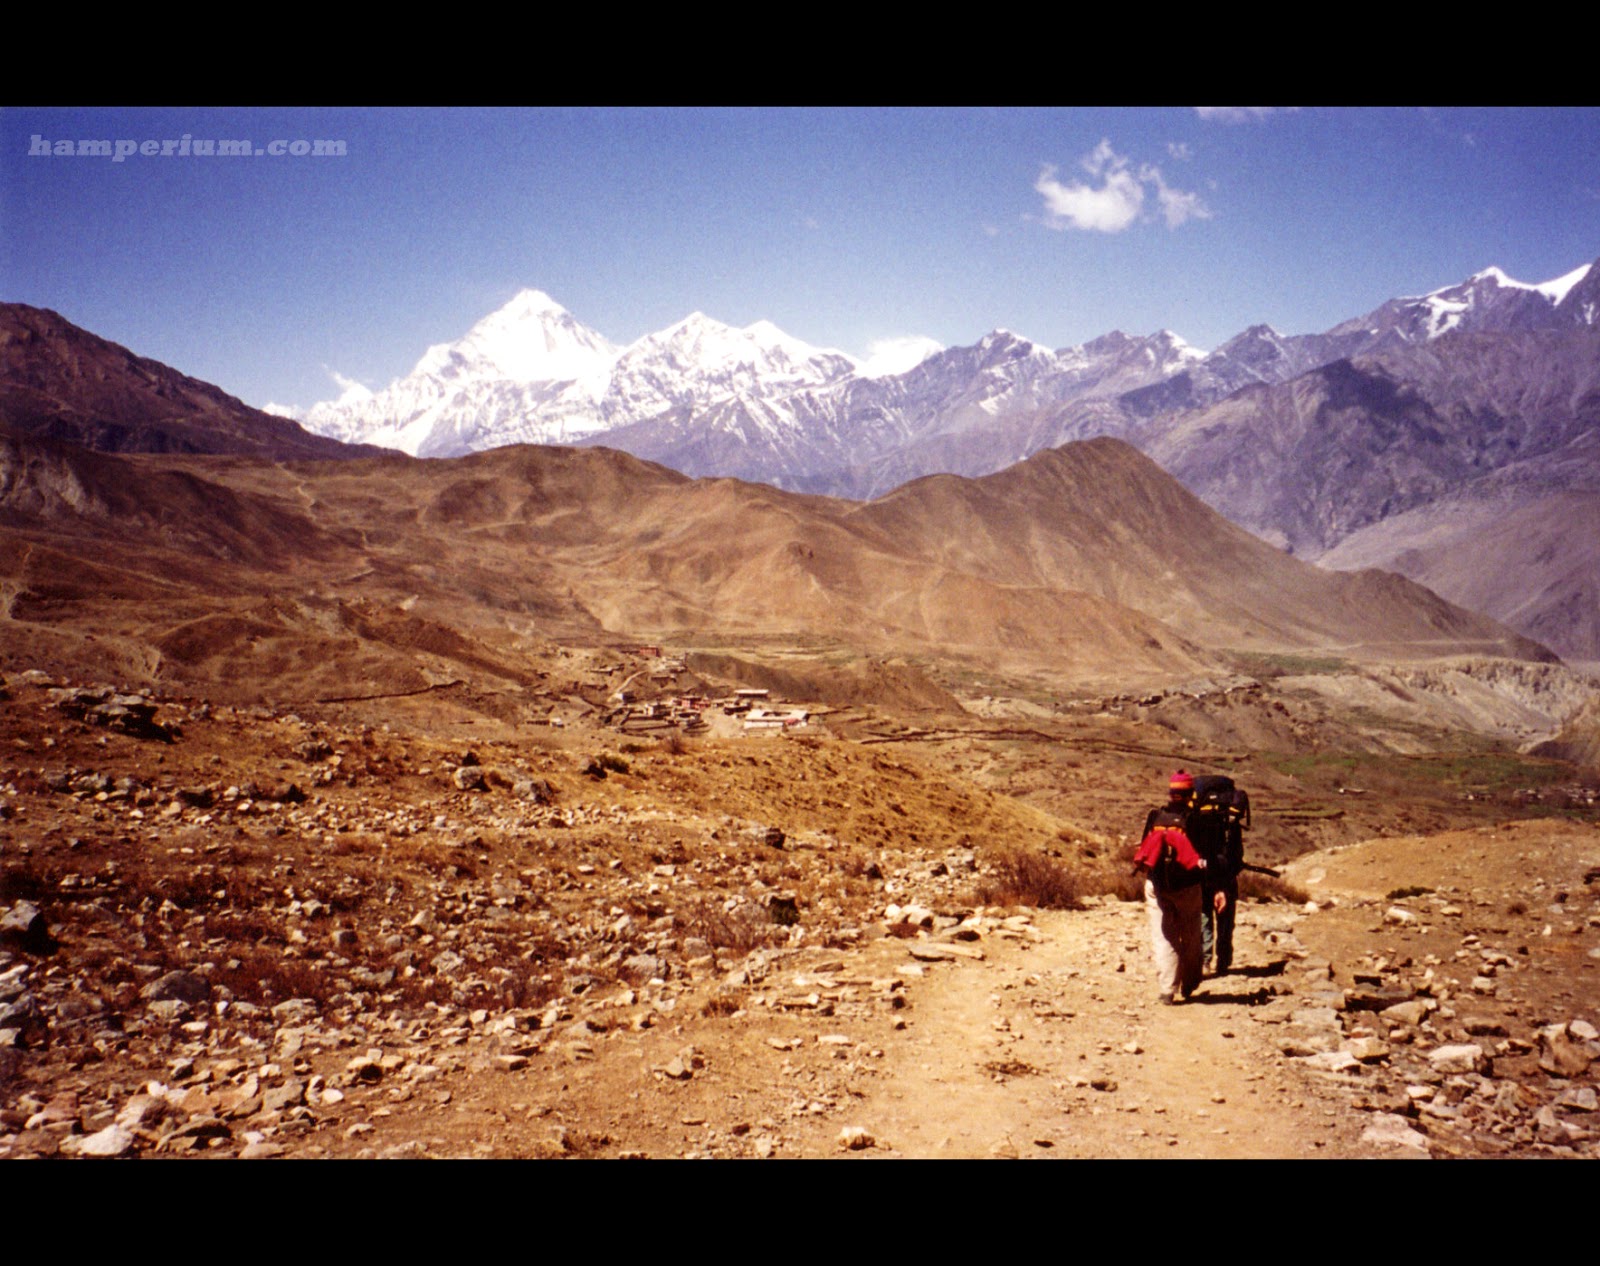
The people on the images gives the viewer an idea how tiny we are in the big world. It also can give a building more power. For example the opera house in Oslo


Then again, it's not always that you'd want people in your shots when shooting buildings. Or interiors for that matter. Then it's just a question of either being very early (best chances of great light!) and/or being very patient. Or clone out the unwanted people in your image using Photoshop.
8. Long exposure
When shooting water or for example moving clouds it's advisable to shoot with a long(er) exposure. That way, the water will turn out silkier and the clouds give the viewer a sense of movement. Make sure to bring a sturdy tripod though, because for longer exposure you sure need one.

9. Colours
Colours draw attention. People are drawn to looking at colourful images. And in this particular image, it's the patterns in the wall that lead the eye to the colourful background.

10. Get close (and low)
Go low and get close. When shooting landscapes don't forget to zoom to get a different image. Or crouch down for that matter. It might offer a whole new perspective when shooting from a different height.

11. A frame in a frame
By creating a frame in your image, you lead the eye of the viewer straight into the picture. In this picture we shot through the window of a bus. It's adding depth and context and drawing the attention to a certain point. You can also use natural frame to shoot through, for example trees.

12. Anchor points
When there's a lot going on in your picture, you can try to find an anchor point amidst the chaos. This picture was taken during the Ironman triathlon in Frankfurt. Thousands of athletes on their first meters of their swim. With a 400 mm I focussed on 1 athlete.

When getting in closer, it gives a different feeling and atmosphere.

13. Shapes
Shapes always work great to create an interesting image. See this example of the Nescio bridge in Amsterdam

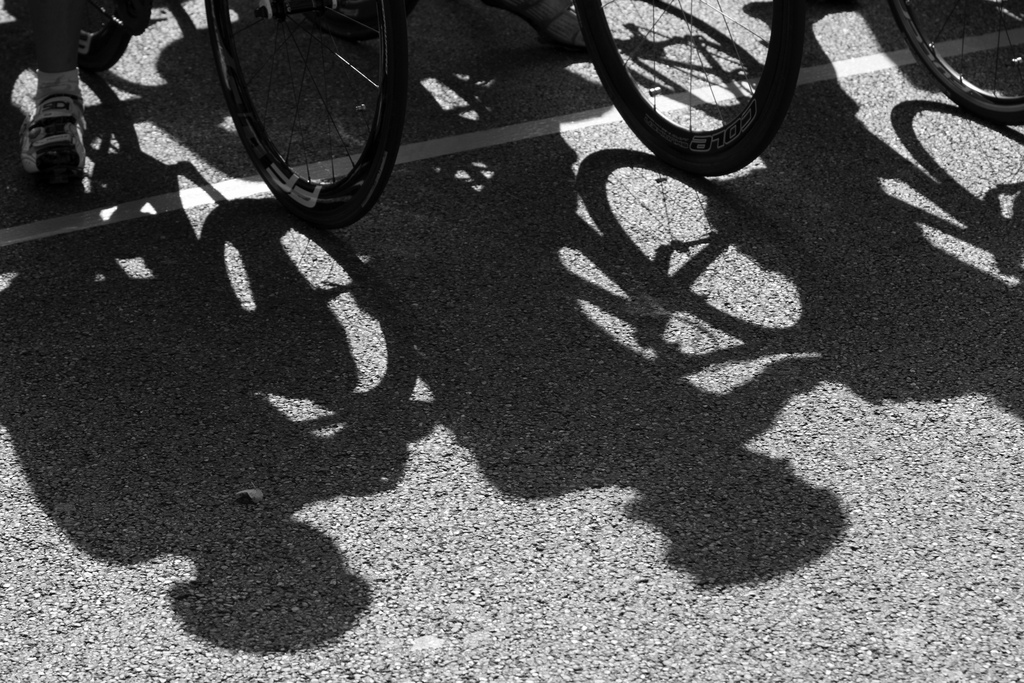
14. Shadows
Shadows add contrast to your image
There's sooo much more with regards to composition you can think of: use flash, use backlight, starburst or triangel shapes.
Go out there and give it a go. Don't be turned off by the autumnal weather. There's so many beautiful things and situations out there. It's up to you how you document them.

PS Do you already follow us on Facebook?


