
For example when you focus on the object, the sky can be blown out. This has to to with the dynamic range of your camera. That is the ability to see the correct highlights, midtones and darks. The eye has a way better dynamic range then your camera.
In Photoshop their are many ways to edit the sky. One is to select the old sky and fill it with a new sky and blend it together. Works pretty good but there is another - very simple! - way: using the gradient tool.
So do bear in mind that you have to make sure the new sky fits the image in the way the light falls, the colour temp, the angle etc.
This is how it works:
1. Open the picture in Photoshop

In this case the sky is not bad but a little flat. So we're gonna replace it with a different sky.
2. Open the picture of the desired sky in Photoshop too


4. Move the sky in the right position and stretch it out with the free transfom tool (Ctrl/ Cmd + T)

Tip: lower the Opacity of that layer. This way it's easier to decide the best location for the new sky.

5. Add a Layer mask to the sky

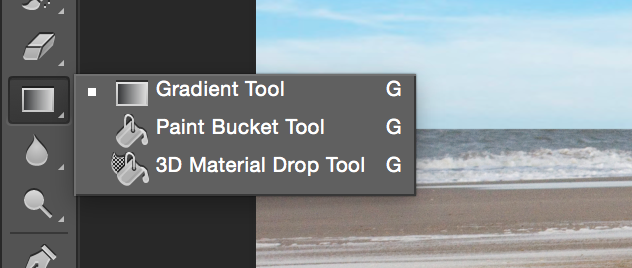
6. Use the Gradient Tool (G)on the layer mask
Voila! You've now blended the new sky into your image.

Like you can see in the picture above, the sky is also blended in on the bikers. But you can easily mask the sky out with black Brush (B).
With the Opacity of the layer you can arrange how much of the new/old sky should be visible.
And this is the end result!

No comments:
Post a Comment