Wednesday, July 6, 2016

How to edit a picture in Color Efex pro 4

I told you before and I'll tell you again: I'm a Nik Collection fan! Googles free and easy to use collection of presets. 

Today I tried Color Efex Pro 4. A user friendly preset that is compatible with the Adobe software. I used it in combination with Lightroom. Here's how it works. 

Open Lightroom, pick an image and follow your normal workflow. Then, for even more editing, move to Color Efex Pro 4. 

Go to Photo > Edit in and choose Color Efex Pro 4


A pop up screen appears 
 
Most of the time, you'll choose the first option and click on Edit.

Your picture will now, with all the Lightroom edits, be opened in Color Efex Pro 4.

On the left side you have a lot of presets available classified by category.  For example Travel presets:

When you choose a preset, you can fine tune it at the right side of the screen (Global adjustment)

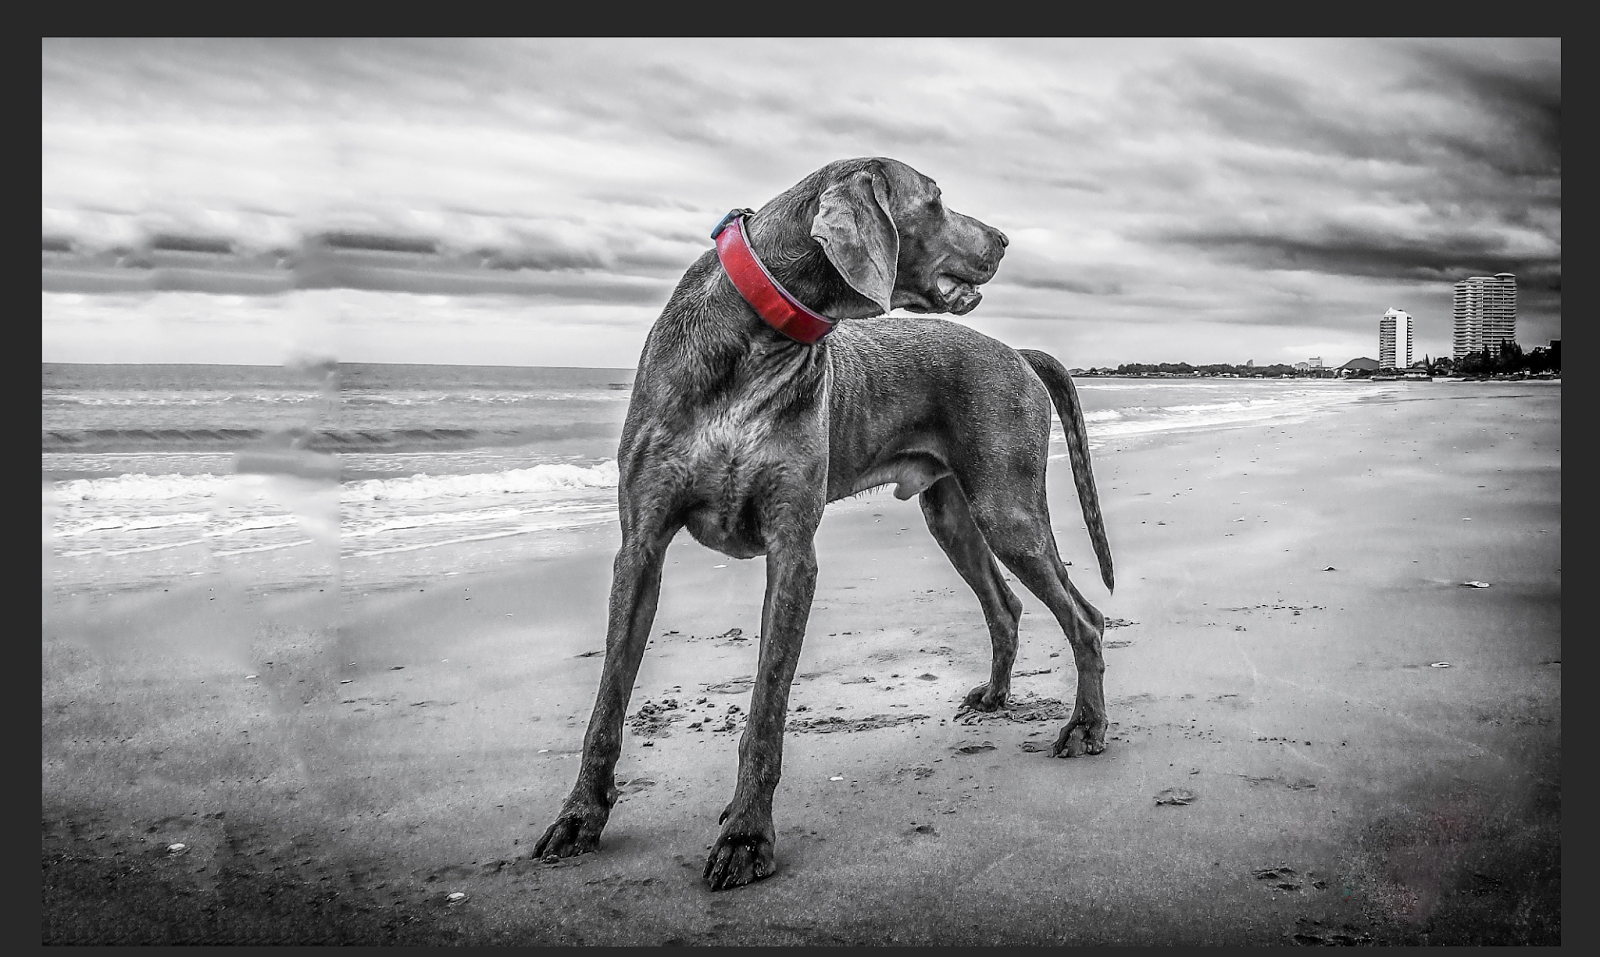
At the top you can compare the picture with the original. 

You can do Local adjustments by using the control points. Activate a control point and click on a specific part of the picture. There you can change some local settings.
When you're done in Color Efex Pro 4, click on the save all button and the picture will be reimported in Lightroom.

Color Efex Pro 4 has tons of templates which can be helpful to edit a picture. In combination with the Adobe Sofware it's sure to  increase your creativity

Don't forget to follow us on Facebook or 500px.

And have you already discovered our brand new Facebook page Humans of the Nordic Region?


Monday, July 4, 2016

How to HDR with HDR Efex pro 2

I've become a fan of the Nik Collection!

This post is about HDR Efex Pro 2 from the Googles Nik Collection. It's free and a good alternative for Photomatrix or Aurora HDR .

I start in Lightroom. Select the images (the under, over and correctly exposed image) and choose Export > HDR Efex Pro 2

Now HDR Efex Pro will open, showing you a page with several options:
  • Alignment: check this option when you didn't use a tripod.
  • Ghost reduction: removes image's artifacts. You can choose the strongness of this option. Also depending on the effect you want in your image.
  • Remove Chromatic Aberration.
Now click on Create HDR and voila, your HDR will be created.

On the left side of the screen you will find presets you can use. The preset can be used as a starting point. On the right side you can do global and local adjustments (control points). This is where you fine tune your image.

When done, click on Save and your HDR will be reimported into Lightroom.

In Lightroom you can edit the image even more if you want/need.

I love the way HDR Efex Pro 2 works. It offers a lot of possibilities to create a HDR image. Have a go: you can download it here.

Don't forget to follow us on Facebook or 500px.


And have you already discovered our Facebook page Humans of the Nordic Region?


Friday, July 1, 2016

How to do Text effects in Photoshop

I just saw this cool Youtube video of Darlene Hildebrand about text effect in Photoshop.  I learned a couple of new things and it also taught me about how to use Clipping masks. Check it out!

Don't forget to follow us on Facebook or 500px


And have you already discovered our Facebook page Humans of the Nordic Region?


Thursday, June 9, 2016

What is New in Lightroom 6.6

What's New in Lightroom 6.6

See all the new items in the You Tube Movie from Anthony Morganti


Or this one by Tony Northrup


Don't forget to follow us on Facebook or 500px


And have you already discovered our Facebook page Humans of the Nordic Region?


Wednesday, June 8, 2016

How to use the Content Aware fill in Photoshop

A short post today about the content aware fill in Photoshop. 

Let me start with this picture: 

In this case I want more space at the left side of the picture. I can do that using the crop tool (C): 

But make sure that "delete cropped pixels" is off. That results in this image: 

Next step is to fill the transparent part of the picture. I can do this by first selecting this part of the image with the Magic want tool (M). When selected you've got to fill it. Go to Edit > Fill and choose Content aware.

Hit Ok and see to it that Photoshop is able to fill it correctly. In this case it's not perfect but not to worry, it's easy to correct (with the Clone Stamp (S) and Spot healing brush tool(J)). 

With a bit of extra work, this is my end result: 

The team of Photoshop is now working on a new feature called Content Aware Crop. Check out this sneak peek to get an idea of how it's supposed to work: 


Don't forget to follow us on Facebook or 500px


And have you already discovered our Facebook page Humans of the Nordic Region?

Picture form pixabay.com 

Friday, June 3, 2016

How to earn money on the net with your pictures

There's so many possibilities to earn money with your pictures on the net. There are a few things to keep in mind: deliver quality, deliver quality, deliver quality and be persistent. 

I guess you've all come across some of the best known stockphoto sites like: 
And there are heaps more!  

Have a look at the pictures on these sites to see what they're after. And then go out and shoot some yourself. You might already have good quality pictures in your portfolio that are worth loading up to a stockphoto agency. 

With most of the (good) sites, your pictures get reviewed before they're actually put up for sale. Each site has their own review criteria, but don't worry, you'll get familiair with them over time. All the sites are after good quality pictures that have a great composition and are pinsharp. Besides loading up your pictures, you also need to pay attention to filling out the right keywords. Right as in the right language (sometimes only English is allowed), describing your image best. 

There are sites where you can upload with the whole reviewing business: 
The key to seling your images via stockphoto sites is to upload great pictures on a regular basis. Pinsharp, well-composed, standing out from the crowd. It takes time to build up a portfolio at each of these sites, but stick with it! It's worth it in the long run!

Don't forget to follow us on Facebook or 500px


And have you already discovered our Facebook page Humans of the Nordic Region?


Wednesday, June 1, 2016

How to straighten an image in #lightroom

One of the most important things to do is to straighten your horizon when editing your pictures in Lightroom.  And it's real easy to do, let me show you. 

I start with this image:
 
As you can see the horizon is not entirely the way it should be. 

To solve this, I use the crop tool (R) in Lightroom (in the develop module).

There's a few options to straighten the horizon. The first one is to click on the Auto button in the middle of this section.
  
Click Done and voila, the horizon is straightened.

The second option is to do it yourself by using the straighten tool. 
 Click on the icon and then draw a line over the horizon.

It's easy enough to correct it in post processing. But why not make it even easier and pay attention when shooting. After all, when you have to straighten it in Lightroom you will end up losing some parts of your picture.

Don't forget to follow us on Facebook or 500px


And have you already discovered our Facebook page Humans of the Nordic Region?