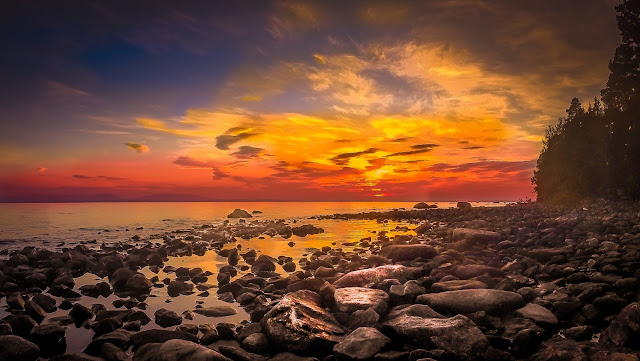
Well, for starters, when you look at the little screen on the back of your camera, the presented image is in JPEG, with all the information. And in Lightroom, you get to see the RAW image with no information whatsoever.
For example, let's take this picture. When I took it, there was a fantastic sky with an abundance of colours. But Lightroom presents me with a boring dark picture.
So this is where the magic happens.....
Now it's your time to make your mark and to create your image. This is my basic workflow:
- Change white balance
- Add contrast
- Bring down the highlights
- Open up the shadows
- Work your whites and blacks
- Depending on the picture/subject add or remove vibrance/clarity
- Work on the lens correction
After the basic workflow, you can add a bit (more) of your personal taste, add some local corrections, like:
- Use graduated filter
- Work with brushes for colour (temp)
- Dodge and burn with brush or Radial filter.
And after all that, the initial picture has changed to this:
Ofcourse it's all a question of personal taste. I'm a big fan of colourful dramatic pictures. So you'll find me editing towards that. Don't be afraid to play around and make some changes. Get out there and find your own style.


No comments:
Post a Comment