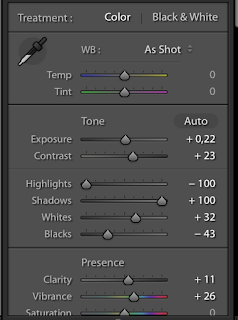
Start with opening your image in Lightroom
Do your regular workflow
Then we go to HSL Panel in Photoshop. Here we remove all colors except the reds and oranges. But that depends on your image.
In the picture we see the truck is very red but there is some color in the background. We can remove this with the brush. So grap a brush and desaturate the background (flow and density of the brush 100%)
The red color is the mask and that are the areas I changed into black and white.
The end result
And have you already discovered our Facebook page Humans of the Nordic Region?


No comments:
Post a Comment