Sometimes, when I just have one image to edit I open it directly in Photoshop. When you open a RAW image in Photoshop, the Camera Raw filter is displayed. But how does this filter work?
It's actually pretty easy as it has exactly the same engine as Lightroom. Knowing Lightroom a bit, gives you an advantage in getting to grips with Camera Raw. The only difference is the look and feel, trust me.
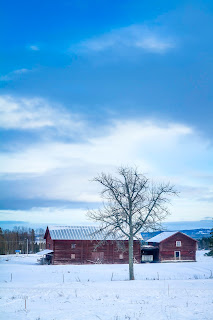
Right, so to illustrate, I took this rather badly exposed picture of the view from our livingroom.
I opened it in Photoshop and did nothing with the Camera Filter. When the image is open in Photoshop the first thing I do is to duplicate the background layer (Cmd J). Then I go to Filter > Camera Raw Filter. Now all the editing is done on a new layer.
Let's see what can be done with the Camera Raw Filter:
This is the first screen that opens...
Here the shadows and highlights can be done, the blacks and whites and contrast, boosting the colours and adding or reducing clarity.
On this screen you can sharpen your image and do some noise reduction (if needed of course)
On this screen you can edit specific colors.
Most importantly, this is where you'll find the possibility to remove Chromatic Aberration.
On this screen we can do some Post Crop Vignetting. And let's also mention the Dehaze function.
All global adjustments are done by now. But exactly like in Lightroom, Local adjustments can also be done in Camera Raw:
Graduated filter:
Radial filter:
You can choose to apply the effect inside or outside the the circle.
Brush:
After you did all the adjustments choose OK. And voila, here is the result:
Tip: if you do your Camera Raw Filter on a separate layer you can easily see the before and after.


No comments:
Post a Comment