To create a HDR image, you take 3 or more pictures of your subject instead of one. All of them with different exposure. With those 3 images (or more) plus some image editing software, you can create your HDR image. If you ask me, HDR doesn't work for all subjects. It works best for subjects that are strong in texture.
So how does it work?
1. Shoot in the Auto Exposure Bracketing (AEB) function on your DSLR (-2,0,2). Ofcourse you can shoot by hand, but it's safer to use a tripod. I guess it goes without saying that you shoot in raw.
2. Then it's a question of importing your pictures into Lightroom. Then select the pictures you want to use for your HDR picture.
3. Next up is blending your images. There's a number of different programs to get the job done. These 3 methods work best for me:
a. Using the blending function in Lightroom CC
b. Using Photomatix Pro
c. Using Photoshop CC
Below you'll find some more details on working with these programs. Without a further explanation, I would just like to add HDR Efex Pro as a fine solution for your blending. Find your preferred method by trying out and seeing for yourself what's to your liking.
a. Using the funtion in Lightroom CC
Select your images:
Right mouse click - Menu: Photo/Photo/merge/HDR - CTRL + H :
Preview appears:
Click Merge:
A new .DNG file appears in your lightroom. You can edit this the way you'd normally do.
b. Using Photomatix Pro
Select the pictures:
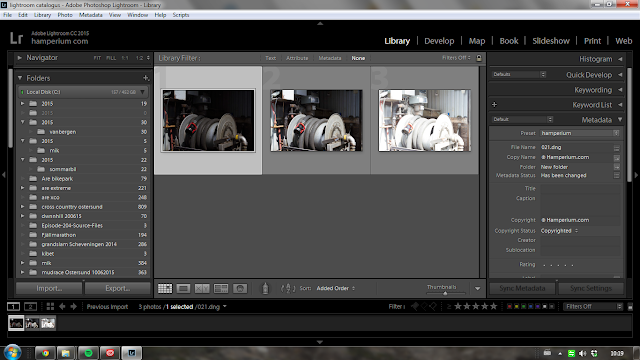
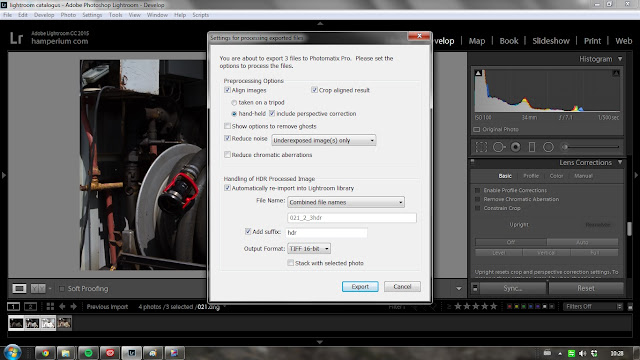
Right mouse click / Export / Photomatix Pro. Then this pop-up appears. I normally use the underneath options.
Click on Export:
The picture is now in Photomatix Pro. There are several options to edit your picture or you can use a preset (and then edit it).
Click on Save and Re-import
The HDR picture now appears in Lightroom.
c. Using Photoshop CC
Select the pictures:

Right mouse click or the Menu: Edit in: Merge to HDR pro in Photoshop
Click on "Tone in ACR"
A new file will be created. Raw converter screen appears:
This is Camera Raw and works pretty much the same as Lightroom CC. It just has a bit of a different look and feel. So now you're ready to edit your picture with Camera Raw. When you're done, click on the OK Button. The pictures open in Photoshop. Save and close them. The newly created pictures will now appear in Lightroom.
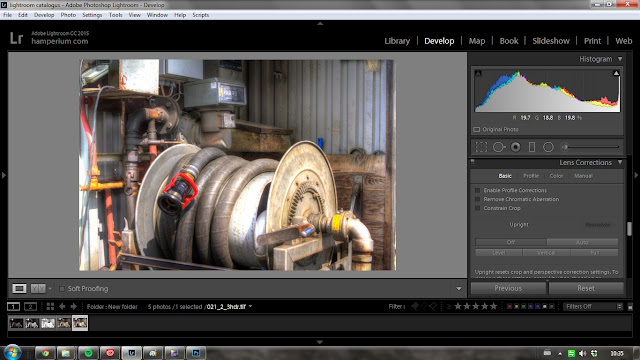
So now you've got 3 HDR pictures in Lightroom. Choose the one you like best. It's a matter of taste which one you like the most. If you ask me, HDR images shouldn't be like 'over the top'. There's so many HDR images out there where the colours seem 'overcooked' and where you see halos in the HDR image. It's not that difficult to correct your colours in Photoshop, wanna know how to do it?
Right mouse click on the picture you want to edit: Edit in Photoshop
Choose Edit a copy
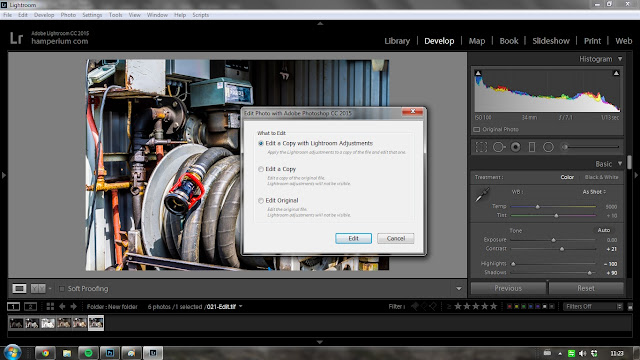
Click on icon Create new fill or new adjustment layer
Choose Hue/Saturation and a new pop-up appears
You can select a color and change it (to be more realistic) using the "hand"
Now when you're done with correcting the colours, save and close the picture. It will now be re-imported in Lightroom. Nearly there! Last step is to edit your picture in Lightroom one final time. I like to always dodge and burn, add grad filters and/or add a vignet. But like I said before: it's all a matter of taste. (and what your client wants ofcourse)
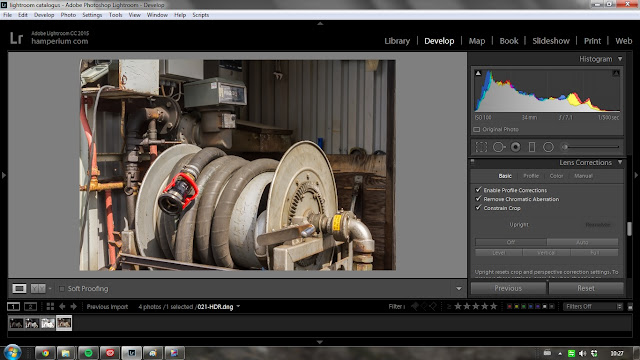
Here is my final image (based on the HDR I made with Photoshop CC).
If you want to learn more I highly recommend RC Conception. He really is an inspirational teacher where it comes to creating fantastic HDR art.





No comments:
Post a Comment